2) Customer Creation
To start the sync process, you must first create a Customer within SecurityTrax (or convert a Lead to a Customer).
- On the "Customers" tab within SecurityTrax click the "Add Customer" link towards the top of the page.
- Fill out the information on the "New Customer" page as completely as possible.
- Click "Save & Stay".
- From the "Monitored By" dropdown menu, choose the option created in the "Administrative Setup" section above (the Monitoring Company that has "Rapid Response" as the "Central Station"), then click "Save & Stay".
- Either type in an Account Number in the text field next to "Account #" on the customer record, or click the "Request" button to request the next available account number (this button will only be present if you have provided SecurityTrax with an Account Number Block as outlined in the "Administrative Setup" section above) then click "Save & Stay".
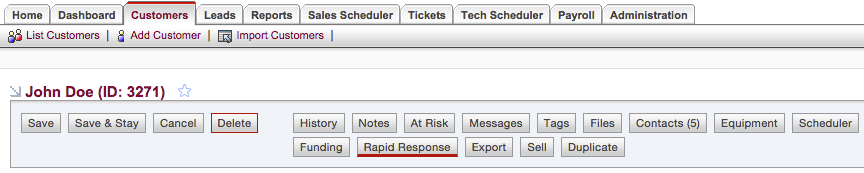
- If you have the proper permissions (see the "Administrative Setup" section above) you will now have a "Rapid Response" button towards the top of the page. Click on this button to open a popup window to begin the sync process.