1) Administrative Setup
Before syncing customer records to Rapid Response, you'll need to take care of some administrative items, as outlined below.
Required Steps:
- Obtain Rapid Response credentials includaing a Username, Password, and optionally an Account Number block.
- Open a SecurityTrax ticket, or call SecurityTrax directly to provide these credentials to SecurityTrax.
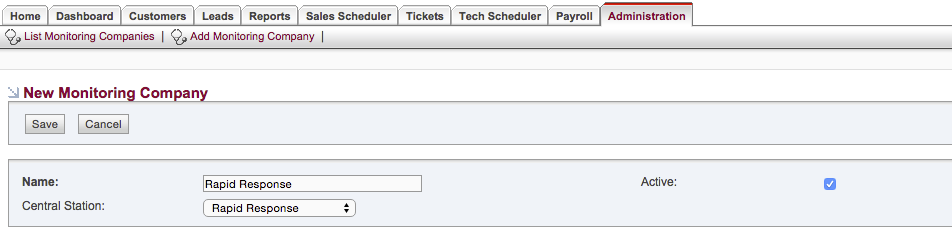
- Within SecurityTrax go to the "Administration" tab and click on the "Monitoring Companies" link, then click on "Add Monitoring Company". Name the company whatever you desire, ensure the "Active" checkbox is checked, and choose "Rapid Response" as the "Central Station" then click "Save".
- Back on the "Administration" tab click on the "Permissions" link then click on the permissions group that you would like to be able to use the Rapid Response integration. On the page that comes up ensure that the "Yes" box is checked on the "Rapid Response" row in the "Customers" section of the page, then click "Save". Repeat this step for every permissions group you would like to have the ability to use the Rapid Response integration.
- Upon receiving confirmation from SecurityTrax that your credentials have been properly input into the system, continue to the next section.