NMI Payment Gateway Setup
This document outlines how to configure the NMI gateway in order to use the Payment Processing feature of SecurityTrax.
Create a user account for the SecurityTrax Platform (REQUIRED)
This new user account is required and will allow the SecurityTrax Platform to connect and perform actions in NMI on your behalf. This account should only be used by SecurityTrax.
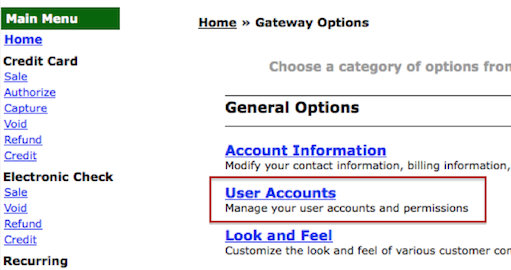
- Click on User Accounts
- Click the link that is titled: “Click Here to Add A New User Account”
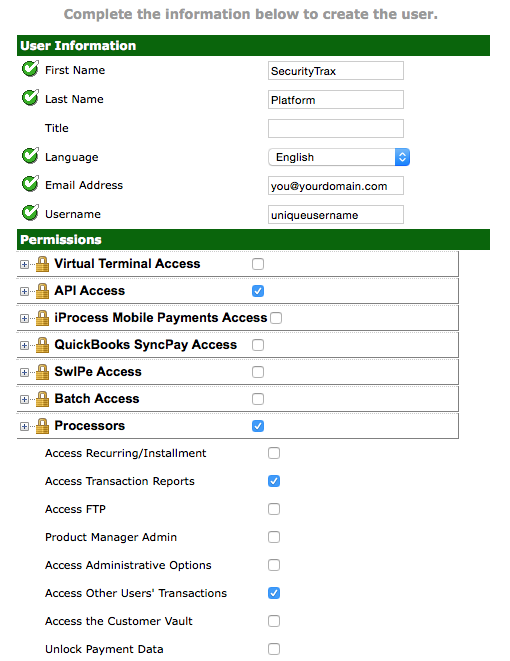
- Fill out the form. Take note of the following fields:
- First & Last Name: These fields should be set up as shown below
- Email Address: This should be your email address or someone at your organization.
- Username: This will be provided to SecurityTrax along with the password. While it makes no difference what the username is, it might be useful to select something to indicate SecurityTrax is its purpose.
- Fill the rest of the fields as shown below to give SecurityTrax the required permissions.
- Once the account is saved an email will be sent to address provided with links to set the password. Record the password your select! Once this process is completed, contact SecurityTrax and provide the username and password.
Setting Up NMI Merchant Defined Fields for SecurityTrax (RECOMMENDED)
Following the steps in this document is not required but will help you in reporting within the NMI platform. The goal is to match the merchant defined fields with the appropriate names so it is clear what information is contained as provided by the SecurityTrax -> NMI API.
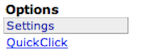
- Log into the NMI Platform and click on ‘Settings’ on the bottom left-hand side of the screen.

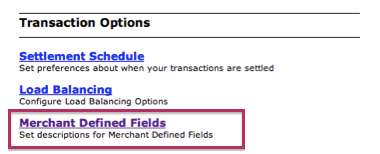
- Next, click on Merchant Defined Fields.
- Click on the gear icon to the right of the following fields and give them the names shown below. BE SURE TO MATCH THEM TO THE CORRECT FIELD NUMBER!

- ‘securitytrax_billing_method_id’: the ID of the billing method used for the payment.
- ‘securitytrax_payment_id’: the ID of the payment entry created in SecurityTrax.
- ‘securitytrax_customer_id’: the ID of the customer.
When processing transactions using SecurityTrax these fields will automatically be populated with the appropriate information. You will also be able to search and report on these fields in the NMI platform.