3) Using DocuSign
The DocuSign Window
Now that your DocuSign templates have been created with the appropriate Recipient order and Field Names it's possible to generate an eContract from within SecurityTrax.
- Click on the DocuSign button located on a Customer Record
- Select the desired template and click Save
The window displayed is broken up into four different sections:
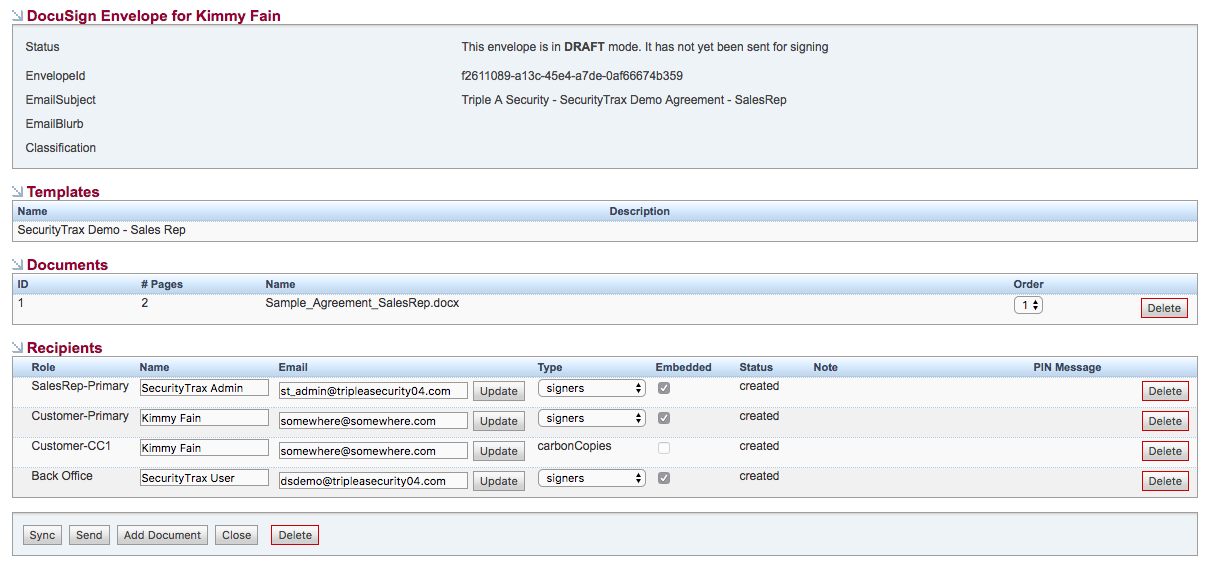
DocuSign Envelope for 'Customer Name'
Displays information from DocuSign related to the envelope just created. The term 'Envelope' is used by DocuSign to mean 'a collection of documents'. An envelope could be one document or several.
Templates
Lists the DocuSign template(s) that were used to create the envelope.
Documents
Lists the individual documents which were used to create the DocuSign template(s).
Recipients
Lists in order from top to bottom the individuals who will be required to sign the document and / or receive a copy. It may be necessary to expand the window to the right in order to see all of the columns in this section.
The Embedded checkbox determines whether the signing process will take place within this window OR if a link to the document will be emailed to the recipient. Checking the Embedded box will enable in-person signing. Unchecking it will send an email to the recipient with a link to sign the document.
Tools at the Bottom of the DocuSign Window
There are also five buttons at the bottom of the DocuSign window:
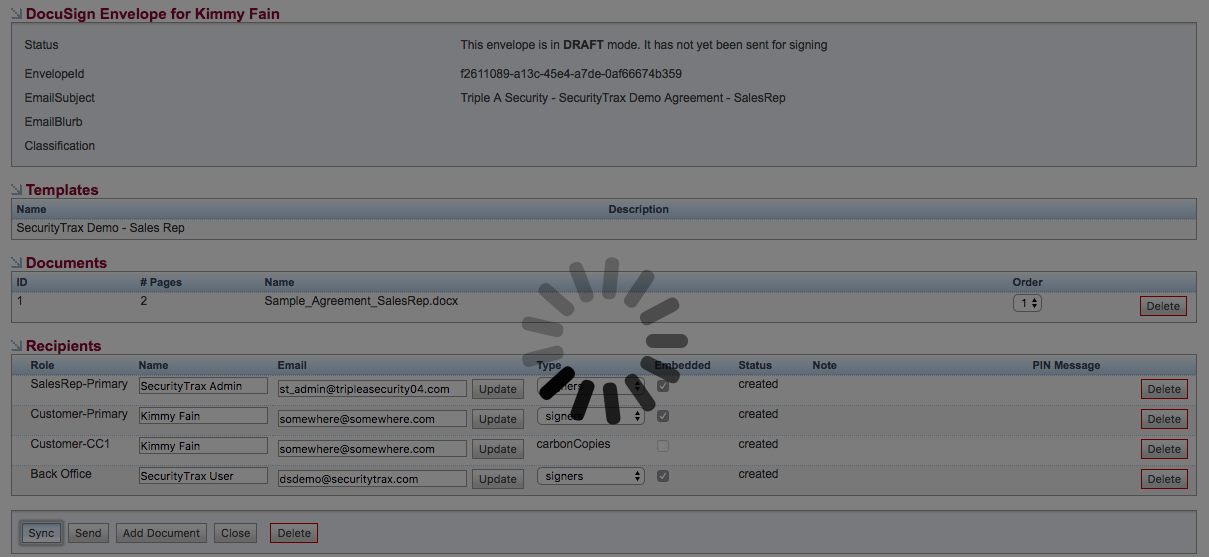
Sync
Clicking this button will push data from SecurityTrax into the DocuSign template based on the Field Names used in the prior steps. A status screen will be displayed once the Sync button is clicked. While displayed no other options on the DocuSign window can be selected / modified. If an error is found on the Customer Record (i.e. incorrect MMR, term, etc.) after clicking Sync it will be necessary to re-sync the Envelope. Save the necessary changes on the Customer Record within SecurityTrax then click the Sync button again.
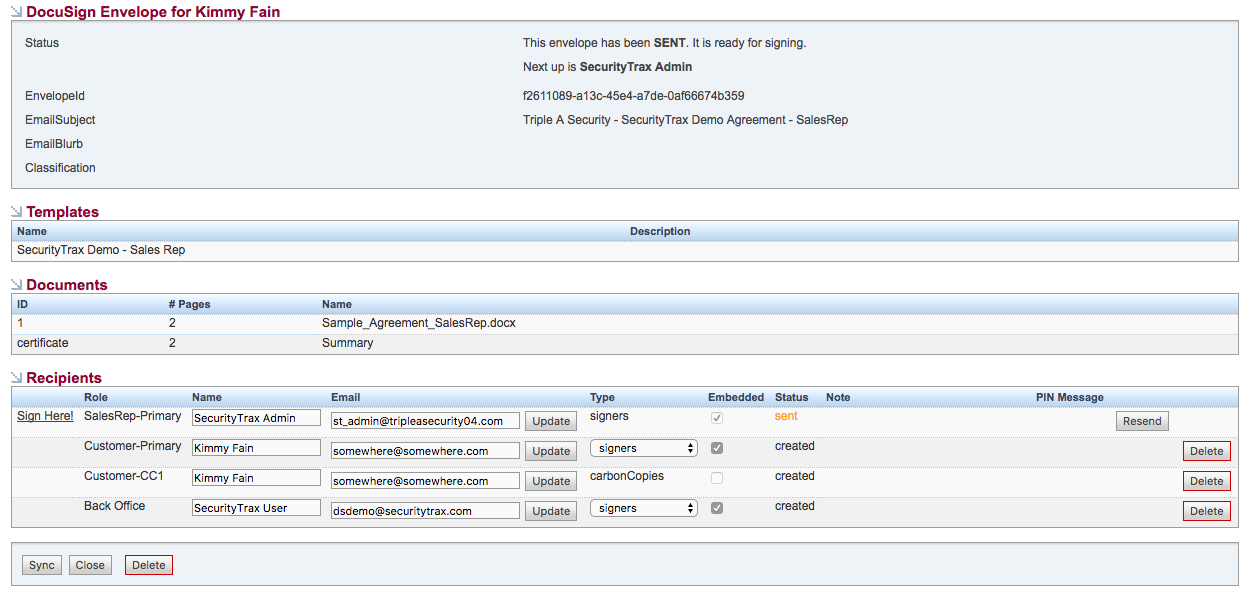
Send
Sends an email to the recipient to sign the document, OR if Embedded is unchecked, creates a 'Sign Here' link to the left of 'Role' under the Recipients section to access the signing process.
Once the Send button is clicked it's NOT possible to re-sync the Envelope. The Envelope would need to be deleted and re-created (see 'Delete' below).
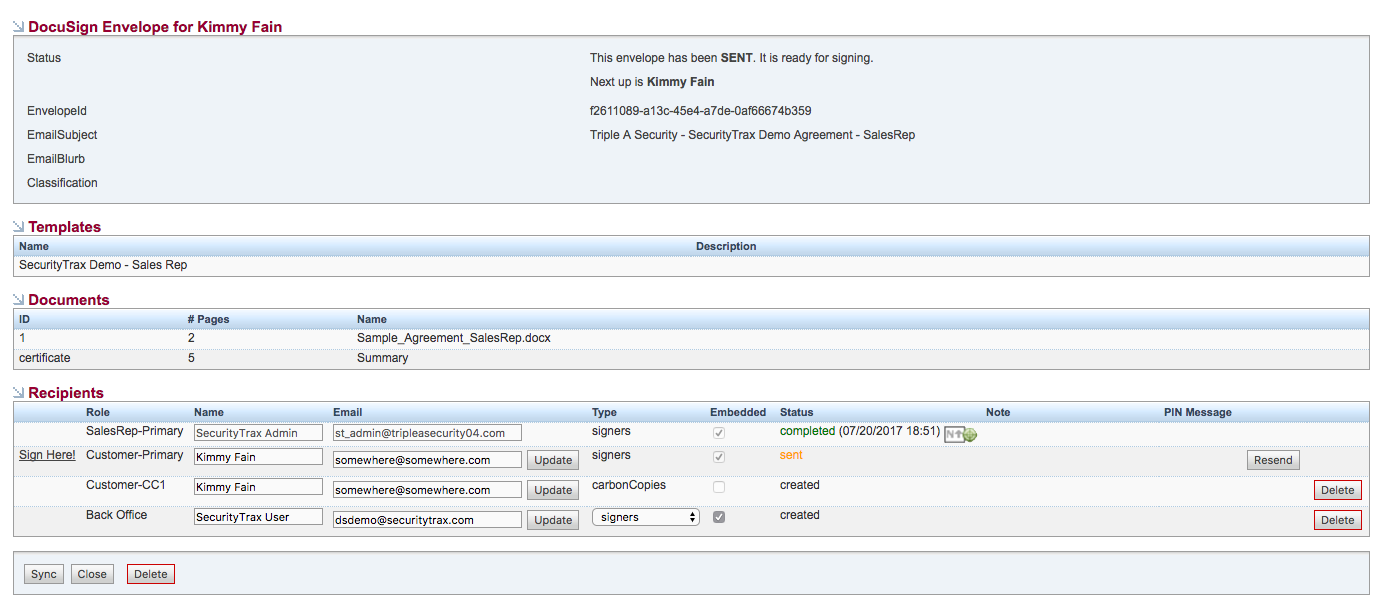
After the recipient has signed the document a map icon may appear to the right of the status column. Clicking the map icon displays the signing location of the document by the recipient on a Google map. Note that a map icon will NOT be displayed if the recipient doesn't allow their location to be shared.
Add Document
Enables the ability to add an additional DocuSign template to the Envelope. If needed, this button must be used BEFORE clicking the Sync and Send buttons.
Close
Closes the DocuSign window.
Delete
Click Delete to discontinue creating an Envelope which is in the signing process (i.e. a non-executed document).
Unlink
After a document has been executed, the Delete button turns into an Unlink button. Click Unlink if a new Envelope is needed. Any previously executed documents will remain in the Files button on the Customer Record.
Envelope Completion
As each recipient completes their signatures a 'Sign Here' link will be displayed on the next recipent (if Embedded was checked) OR and email will be sent to the next recipient.
After all recipients have completed their signatures a PDF of the executed document will be automatically uploaded to the Files button on the Customer Record. (Please allow for up to 24 hours for the PDF to upload.)