3) Pushing, Activating and Managing an Account
To push and activate the account with CMS do the following:
- On the “Customer” screen, click on the “CMS” Button. This button will not show up until you have chosen CMS from the “Monitored By” drop-down and saved the Customer record.
- A new window will open. This is the CMS integration window. Click “Create Account” from the drop-down.
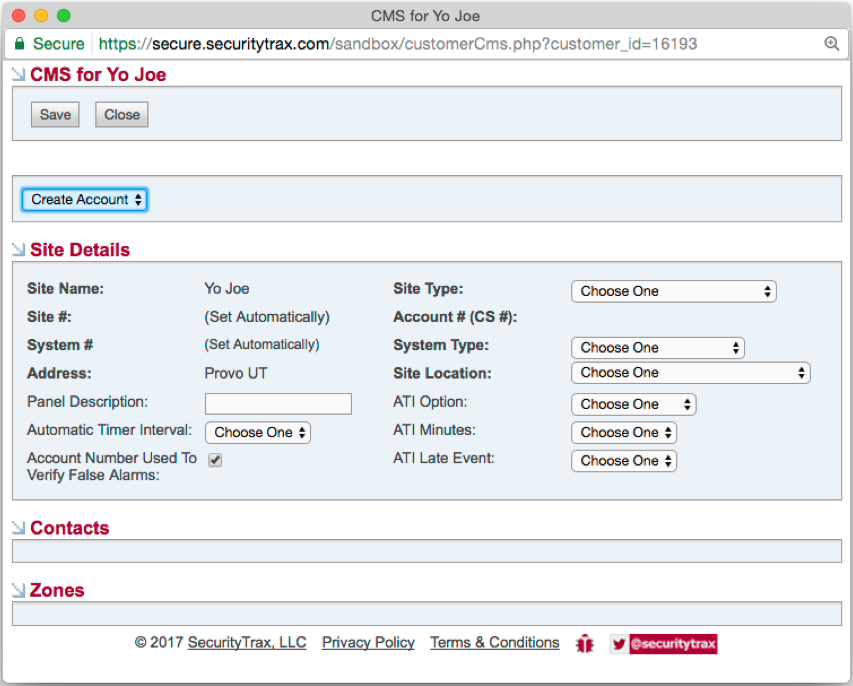
- Fill in all the required information in the blank fields and drop-downs as applicable for the customer and system. If you are unable to submit the account, verify that you have selected an option for: Site Type, System Type and Site Location within the CMS Integration window.
- After you have completed the required fields, save and the account by clicking the save button within the integration window. This account will now be activated with CMS.
Managing Active Accounts
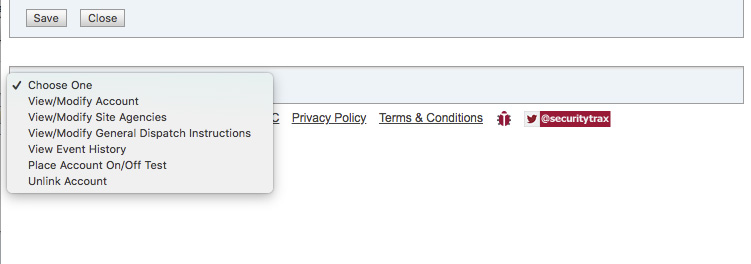
- View/Modify Account: This option will allow you to view the account data and make changes or modifications
- View/Modify Site Agencies: This option will allow you to add or select an Agency. See below for instructions on how to add an Agency.
- View/Modify General Dispatch Instructions: This option will allow you to add gGeneral Dispatch Instructions that can be temporary (with an expiration date) or permanant.
- View Event History: This option will allow you to view any changes or actions that have been made on this account.
- Place Account On/Off Test: This option allows you to place an account On/Off Test. You also have the ability to set an expiration for the test in this window.
- Unlink Account: This option simply breaks the connection from SecurityTrax to CMS for the Customer Account.