Zip Management
Getting Started
SecurityTrax allows you to upload a list of zip codes and tie them to a specific office location or partner company and when this zip code is entered the associated office location or partner company will be auto-selected. You are also able to add/remove existing zips, overwrite, and purge from other lists.
Definitions
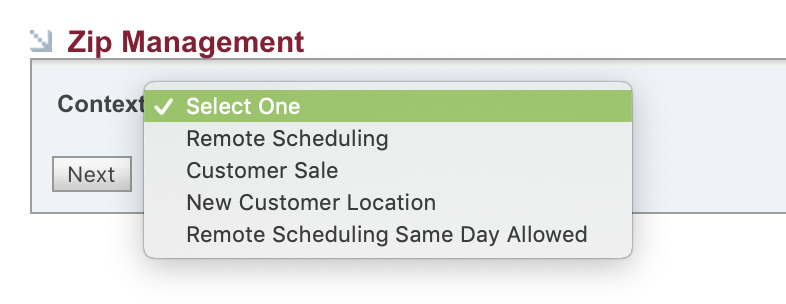
Remote Scheduling - The dealer that is doing the installations for a partner company will set the zip codes that are in proximity to their technicians and allow the partner company to only schedule remotely next day or beyond for customers that are within these zip codes.
Customer Sale - When you add zip codes to this you are setting up default office locations to be auto applied to the customer sold.
New Customer Location - When adding zip codes to this you are setting up default office locations to be auto applied to the new customer created.
Remote Scheduling Same Day Allowed - The dealer that is doing the installations for a partner company will set the zip codes that are close enough in proximity to their technicians and allow the partner company to schedule remotely same day for customers that are within these zip codes.
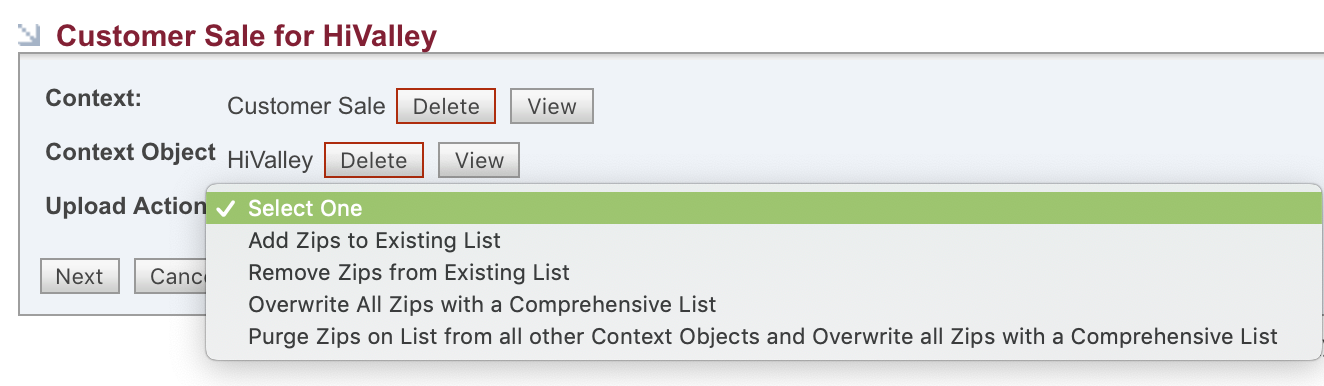
Add/Remove Zips to Existing List - These do exactly what the name implies.
Overwrite All Zips With a Comprehensive List - This overwrites all zips in the office location or partner company that has had a previous list uploaded.
Purge Zips - This will remove the zips on the list you upload from _all_ objects (i.e. office locations, partner companies) in the same "Context", then adds all the zips on the list to the currently selected object.
Process
- Navigate to Administration.
- Go to System and click SecurityTrax Zip Management.
- Select the context you want to work with, either remote scheduling, customer sale, new customer location, or remote scheduling same day allowed..
- Click next.

- Select what you would like to do.
- If you are just managing all of the zip codes on one comprehensive list then select the bottom option and then upload your file.
- If you are managing separate objects then select the top option.
- Click next.
- Select context object which is the partner company or the office location.
- Click next.
- Select Upload Action.
- Click next.
- Choose a .csv or .txt file from your computer. If using a .csv, the Object ID, Zipcode, Rank, Field3, Field4 must have an individual column for each of those values.
- Click next.
NOTE: The format "MUST" be as follows...
ObjectID,Zipcode,Rank,field3,field4,...
1,12345,1,abc,def,...
2,23456,1,abc,def,...
field3, field4, etc. will be completely ignored for our purposes.
Purge zips will remove the zips on the list you upload from _all_ objects (i.e. office locations, partner companies) in the same "Context", then adds all the zips on the list to the currently selected object.