Using Enhanced Inventory
Company Replenishment
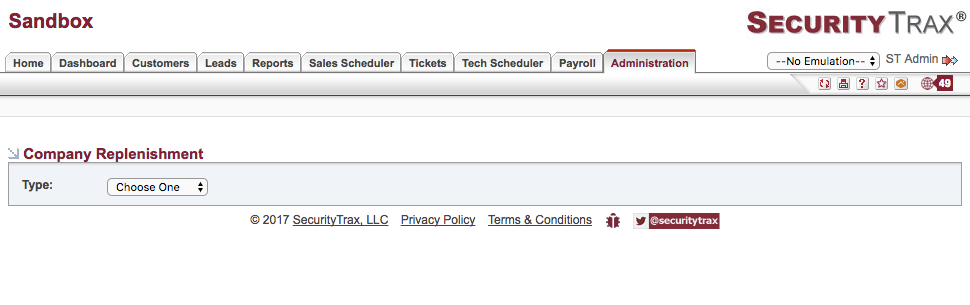
This feature creates a proposed set of equipment PO's for users that are at or below their minimum levels in order to get them back to base levels of on-hand equipment. Just follow these steps:
- First, go to the Administration Page.
- Second, click on "Company Replenishment".
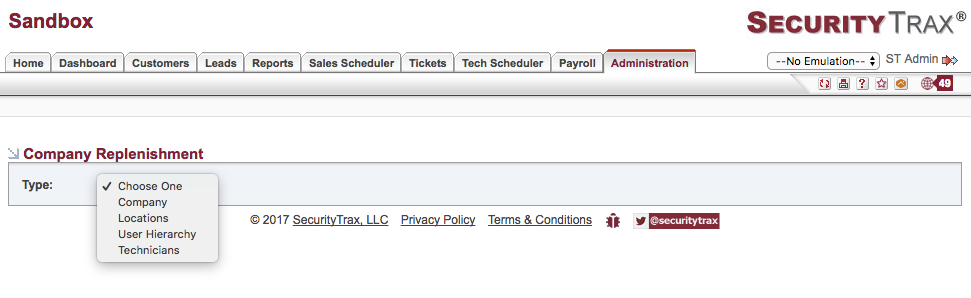
- Third, select who you would like to run the replenishment for. The options are the company(entire company), locations(specific location only), user hierarchy(for the technicians below the selected managers), or technicians(individual technicians).
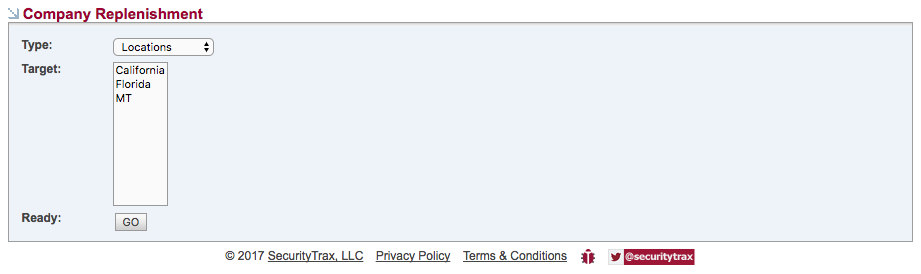
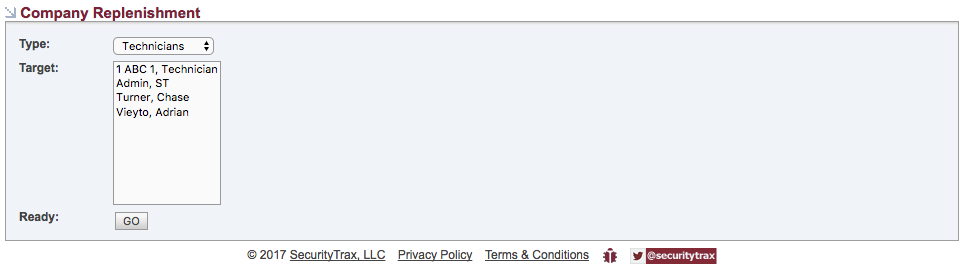
- Fourth, select the location, user hierarchy, or the technician you would like to replenish. This will auto-populate a PO for the selected company, location, user hierarchy, or technician and then click "GO".

- Fifth, verify the equipment quantities are correct and adjust them if necessary.
- Last, check the box on the top right-hand side of the PO or check select all. Click save and this will send the PO electronically to the vendor if this feature has been turned on.
When you are comfortable with the equipment you are getting from these auto-generated PO's then you can make this process automated. Simply contact us at SecurityTrax and we can turn this on for you.
Equipment Transfers
Transfers allow you to move equipment from one recipient to another recipient. Generally, this is a 2-step process where:
- The source recipient initiates the transfer
- The target recipient accepts the transfer
NOTE
Until the transfer has been accepted by the target recipient NO CHANGES to on hand counts take place.
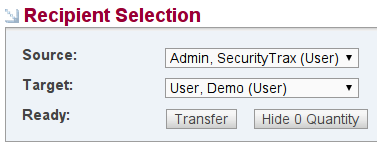
To Perform an Equipment Transfer:
- Click on the Administration Tab
- Click Equipment Transfer under the Inventory & Equipment section
- Choose the appropriate source recipient in the Source field
- Choose the appropriate target recipient in the Target field
- Input the appropriate quantities in the Quantity column
- Click Transfer
- The intended recipient then goes to their home page
- Click on My Inventory
- Click accept or reject in the inbound transfers section
Pending Equipment
Purchase Orders
Purchase orders are used to get new equipment into the system.

To create a PO:
- Click on the Administration Tab
- Click Create Pending Equipment under the Inventory & Equipment section
- Choose "Purchase Order" in the Type field
- Choose the appropriate vendor from the Vendor field
- Choose the appropriate recipient in the Recipient field
- Click GO
- Fill out the appropriate quantities and adjust your processing/retrieval methods as appropriate
- Click Save
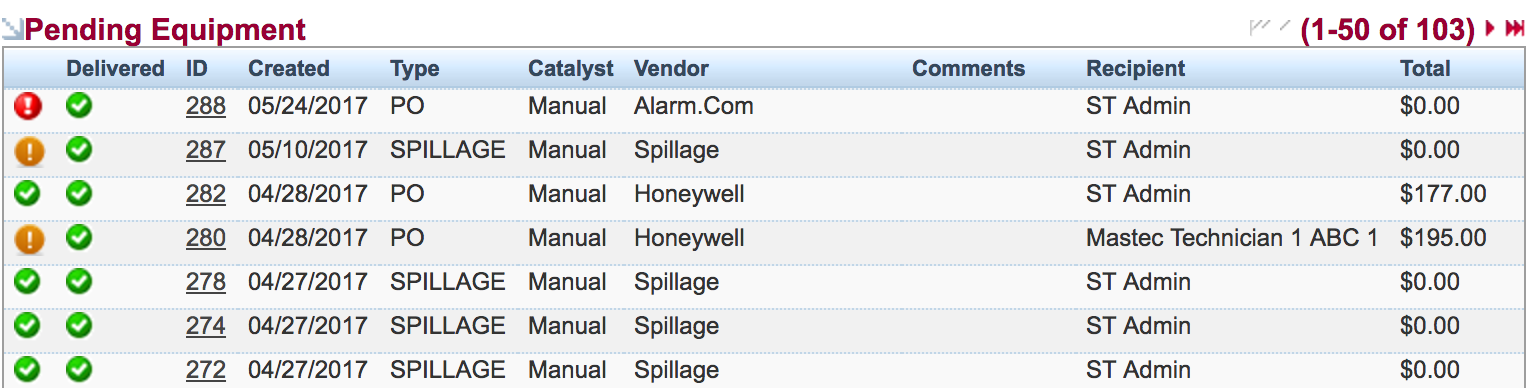
Mark equipment as received and close a PO:
- Click on the Administration Tab
- Click Pending Equipment under the Inventory & Equipment section
- Click the ID to open a PO that has a Red circle on the left side. The circles and their colors are as follows:
- Red = Open PO that hasn't been reviewed
- Orange = PO that equipment has been recieved
- Green = PO is fullfilled and complete and closed
- Click the plus+ icon to edit the quantity of equipment you have received and then click save
- Now your PO will have an Orange circle next to it meaning it needs to be reviewed and closed
- Click the ID to open the same PO edit the quantities if needed and then at the top right click the Open/Closed button select closed and click save
- Now you will see that both circles are now Green and your PO has been fullfilled and closed
Return Merchandise
Return Merchandise can be used to send faulty/unneeded equipment back to your suppliers when appropriate.
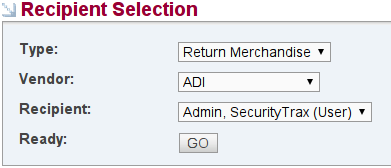
To create an RMA:
- Click on the Administration Tab
- Click Create Pending Equipment under the Inventory & Equipment section
- Choose "Return Merchandise" in the Type field
- Choose the appropriate vendor from the Vendor field
- Choose the appropriate recipient in the Recipient field
- Click GO
- Add items as appropriate
- Click Save
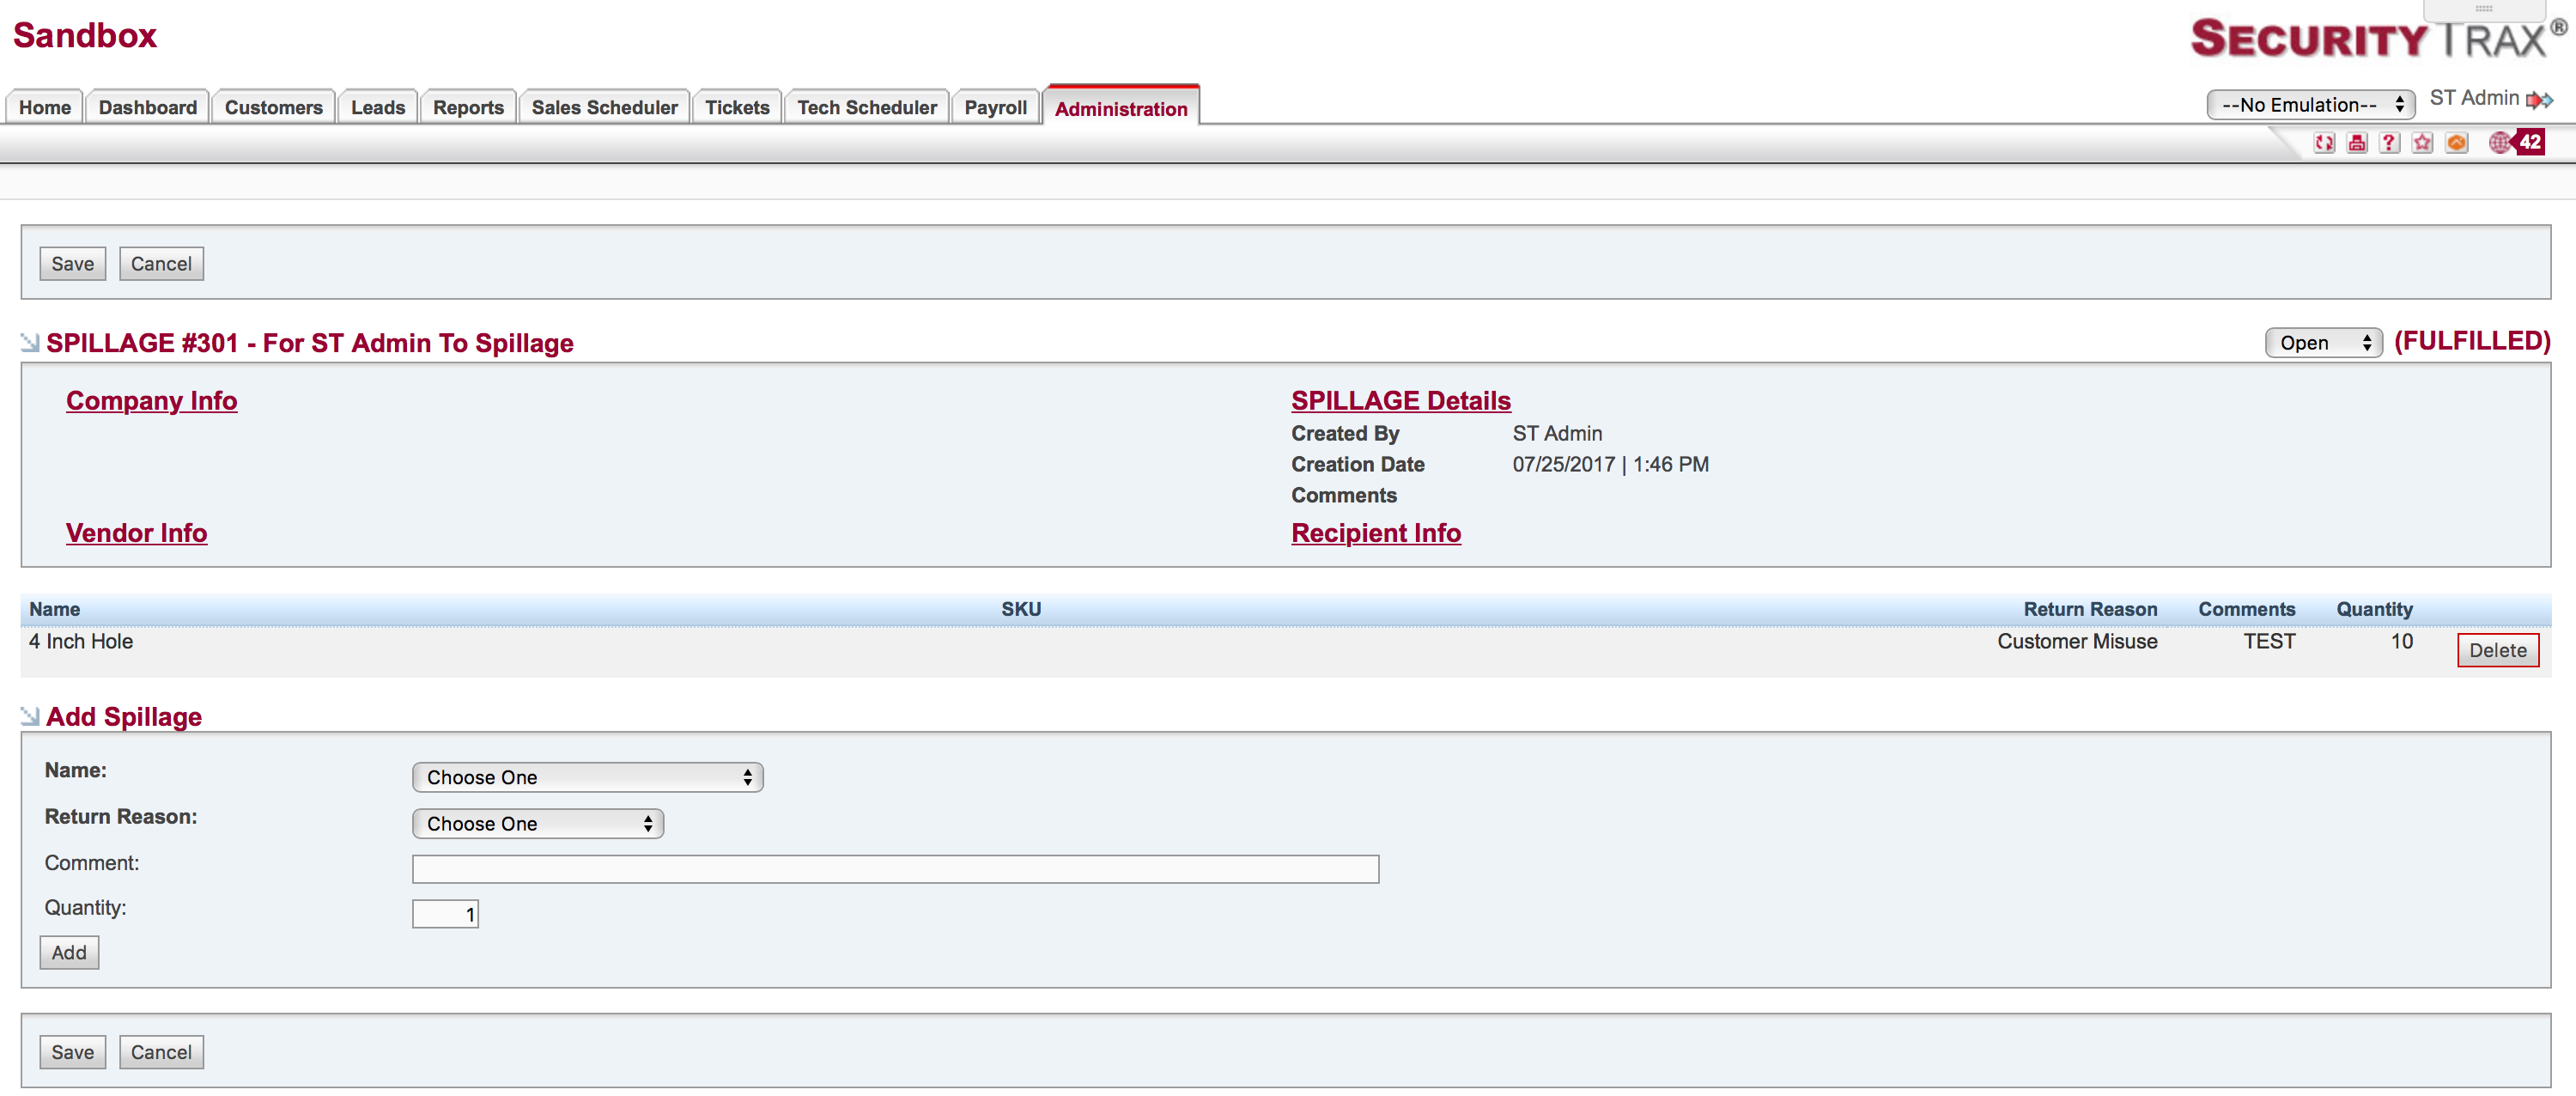
Spillage
Spillage reports are typically used as a means to remove faulty equipment from a recipient's on hand counts. They may also be used by a warehouse manager with the correct permissions if a technician brings back a bunch of defective equipment to the office with no explanation of the defect. A manager can then bulk spillage by type of equipment and edit the appropriate quantities.
Optionally, spillage can be used as a precursory step before creating a Return Merchandise report.
A typical workflow would involve recipients adding spillage to an open spillage report during a month (the time period can be adjusted as needed). After the given period of time an administrator can Lock the spillage report preventing further adjustments. At that time the recipient would then physically ship all the defective equipment back to the central warehouse, except lost or missing equipment. The items would then be reviewed by your back office and the spillage report could then be closed. Optionally, spillage reports can be converted to Return Merchandise reports for return to the appropriate vendor.
NOTE: Spillage reports differ from POs and RMAs due to the fact that addtional equipment can be added after creation. Items can continue to be added to spillage reports until it's status is Locked or Closed.
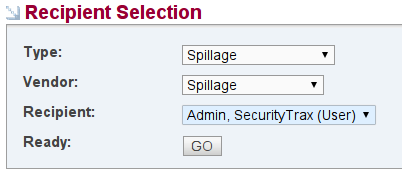
To create a Spillage Report:
- Click on the Administration Tab
- Click Create Pending Equipment under the Inventory & Equipment section
- Choose "Spillage" in the Type field
- Choose the Spillage vendor from the Vendor field
- Choose the appropriate recipient in the Recipient field
- Click Go
- Add items (and quantities if you have sufficient permissions)
- Click Save
Inventory Discrepancy Warnings
SecurityTrax provides two different warnings when a technician performs physical inventory. These warnings are independent of one another, however, they appear one after the other if both conditions are met.
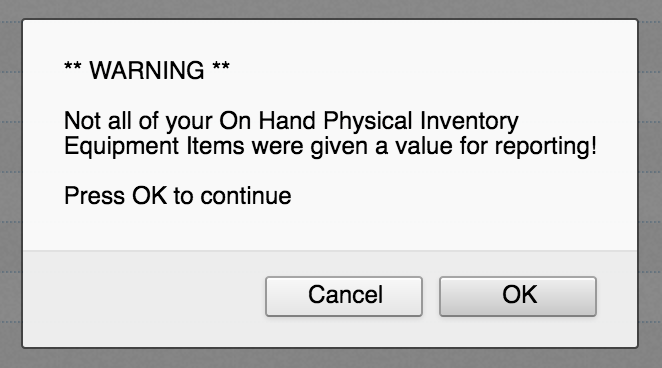
One warning message will show up when technicians perform their inventory counts and fail to report on equipment which the system has a record of from previous inventory counts.
At this point, the technicians may click "OK" and continue or click "Cancel" and redo the inventory count and report on the forgotten equipment. This warning message will look like this:
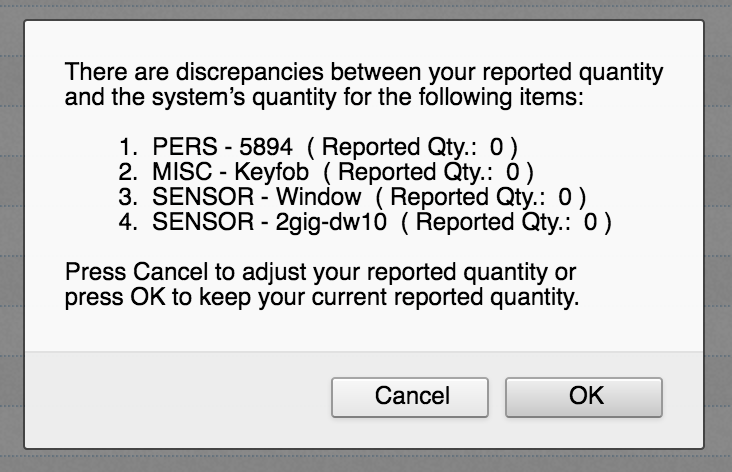
If they click "OK" to continue and have reported different quantities than what's recorded in SecurityTrax then the other warning message will show up.
This other warning will show which type(s) of equipment have discrepancies, however, it doesn't give the quantities the technicians should have. The technicians can then go back by clicking "Cancel" or continue submitting the inventory counts despite the discrepancies by clicking "OK". Upon clicking "OK" the following warning message will show up.
Insufficient Inventory Notification
SecurityTrax can now look at all next day customer appointments and the Tech assigned to them and determine if the Tech will need any additional equipment. It makes a comparison between the customer's uninstalled equipment list and the equipment the scheduled Tech has on hand. After this, it will send out a notification via email that will list the pieces of equipment and the quantities that the Tech needs for the appointment.
Contact SecurityTrax if you would like this feature turned on. This is a global notification when turned on it will be active for all technicians and cannot be enabled or disabled on an individual user basis.
Purchase Requisitions
Purchase requisitions are available to technicians for requesting additional equipment. These purchase requisitions can then be converted into purchase orders by the inventory manager.
A purchase requisition can be created in mobile as well as in the main site. To create a purchase requisition in the main site:
- Click on the Home Tab.
- Click My Inventory.
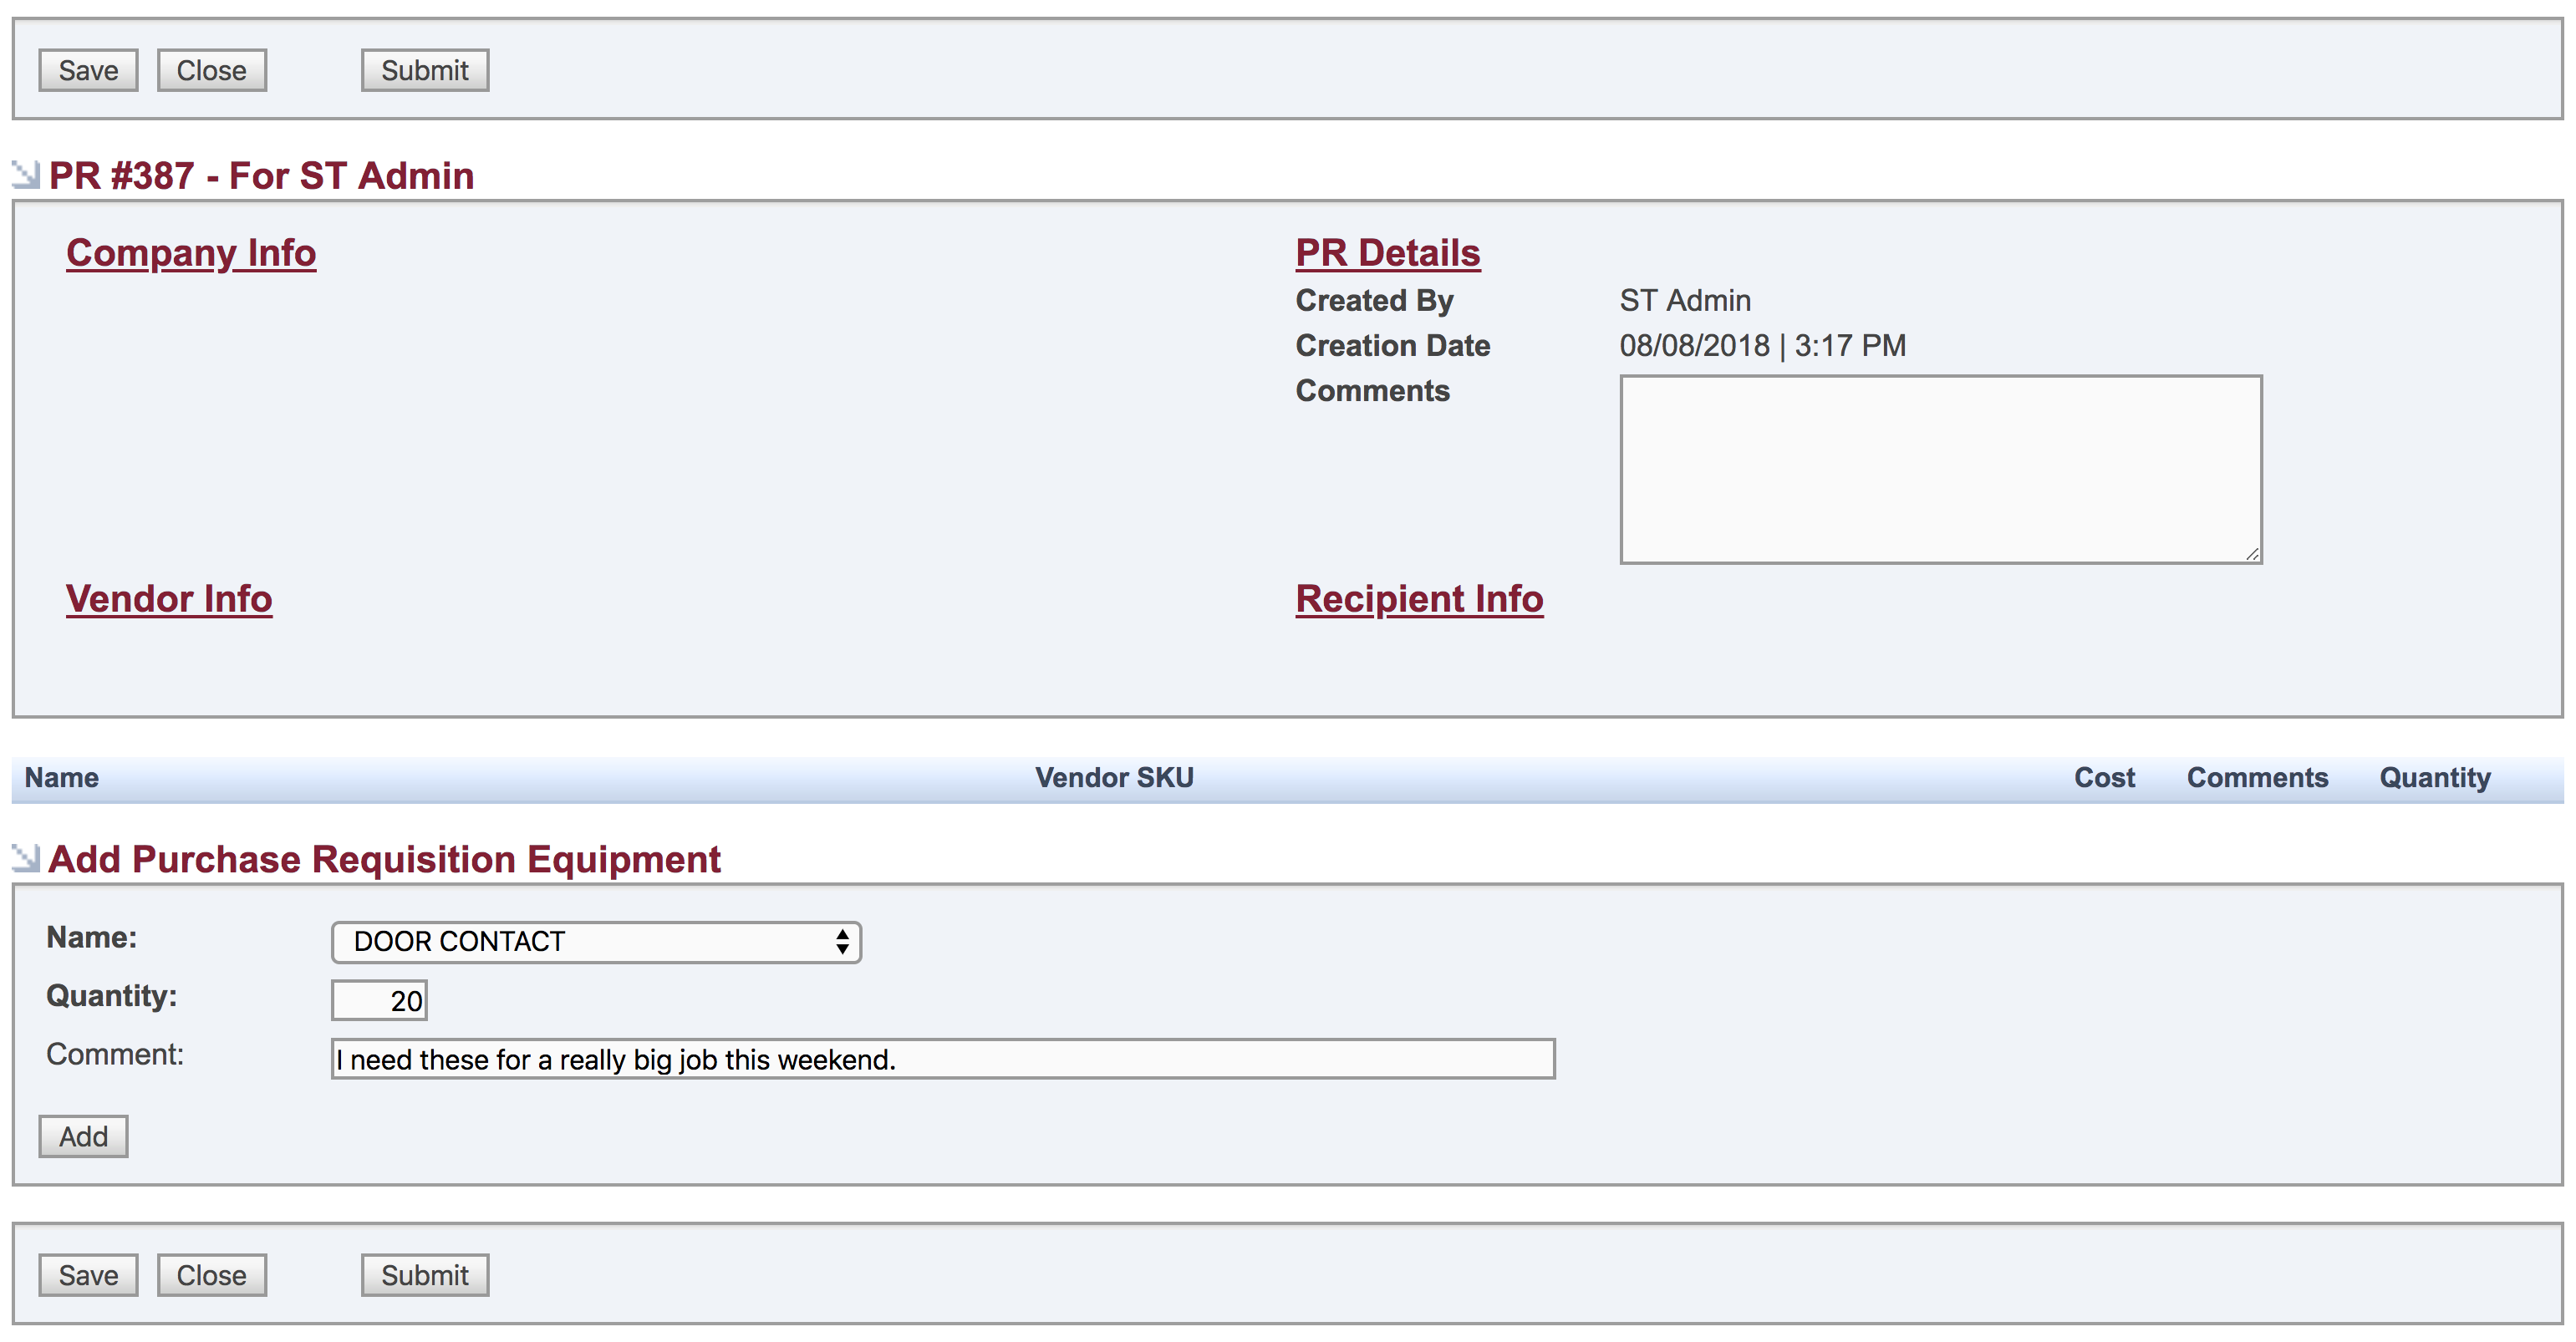
- Click Create Purchase Requisition.
- Select the name of the Equipment.
- Enter the quantity you would like to have ordered.
- Click Add.
- Repeat this for each piece of equipment.
- When all pieces have been added click Submit.
NOTE
The technician will only see a list of equipment for the vendors he has marked as active in the technician's vendor details.
This purchase requisition will now show up for the inventory manager in Pending Equipment. They can then decide if the technician needs any of the equipment. If they find the requisition is justified they can convert it to a PO and get the parts on order. If they decide not to grant the request they can leave a comment and just close out the purchase requisition.

Comments on the purchase requisition can be used to communicate back and forth between the technician and the inventory manager. There are also notifications that can be set up for the technician and manager so they can know when a new comment has been added and saved.