Extended Create: 7-Step Workflow
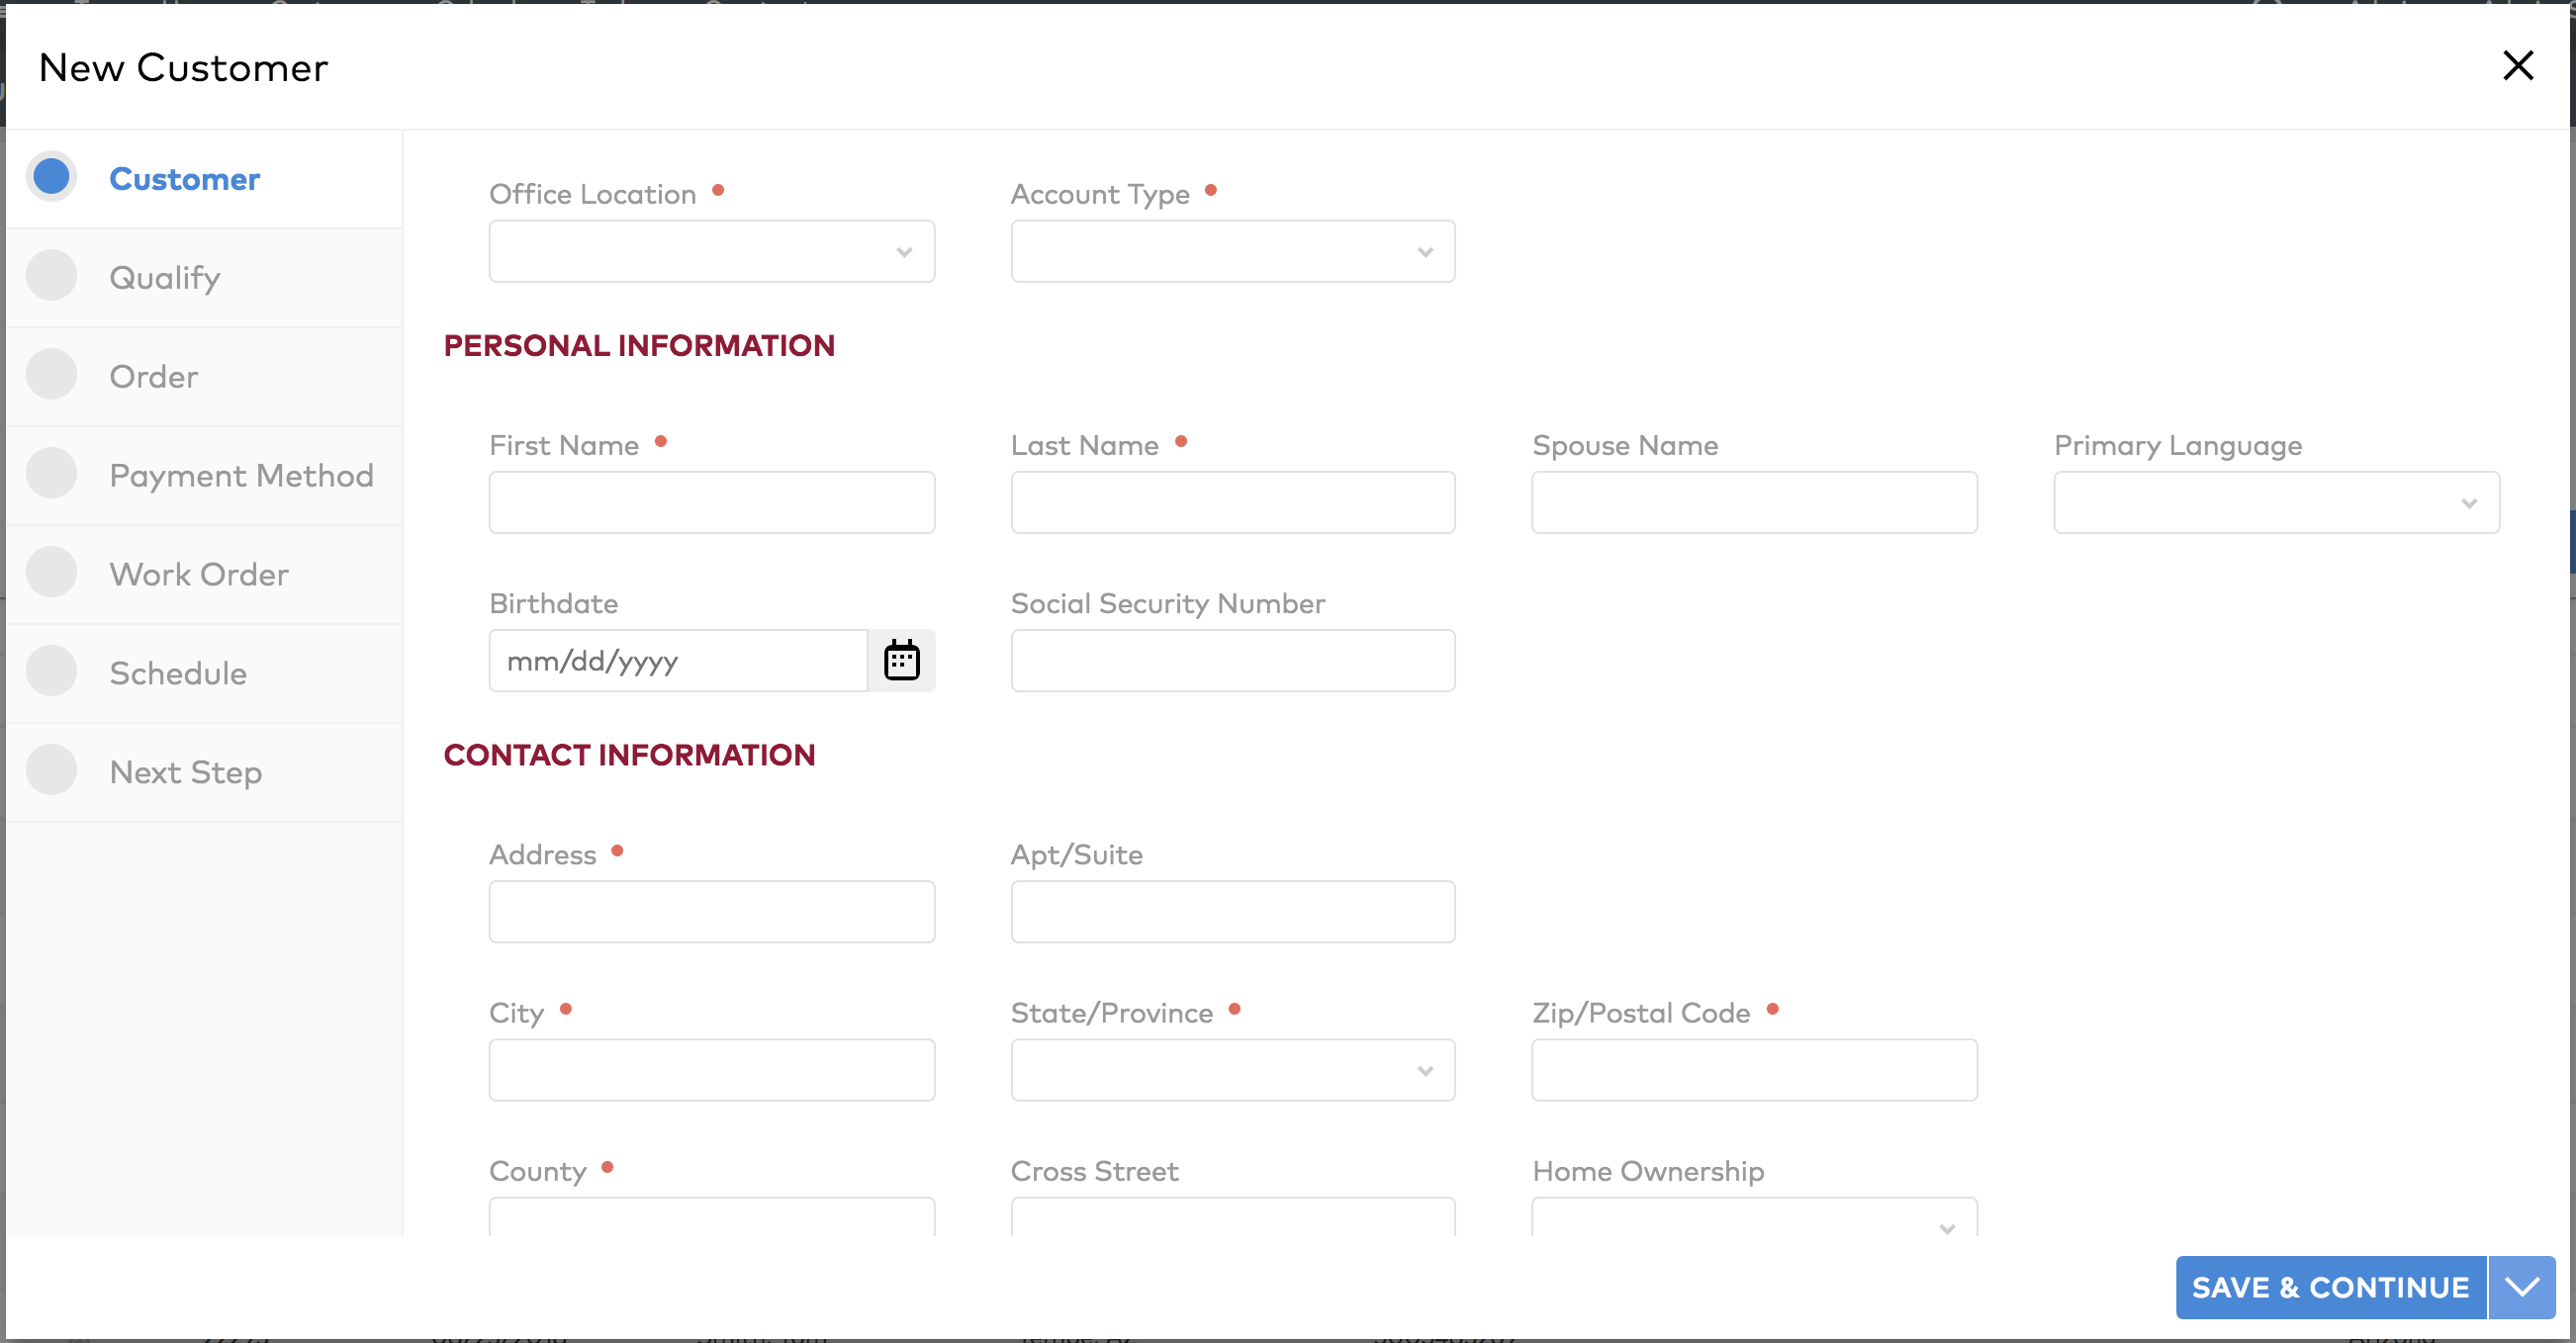
To create a new customer
- Fill out all required fields and any other information.
- Click Save & Continue to continue with the wizard.
Note: After filling in the zip code, the State, City, and County will auto-fill. You can also select Save & Close on the Save & Continue dropdown to exit the wizard, or delete the customer by selecting Delete Customer on the Save & Continue dropdown. If the address is not associated with a valid geocode, a warning message will appear on all customer pages.
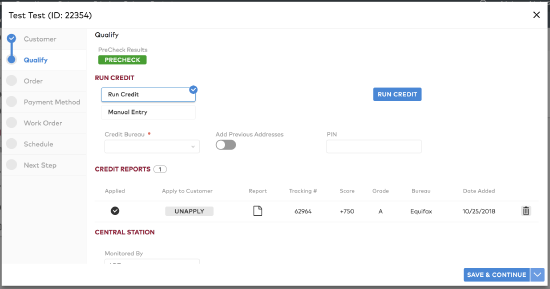
To qualify a customer
The next step of the wizard allows you to qualify a customer. Select Run Credit or Manual Entry.
- Run Credit
- Click Unapply to unapply a credit report to the account.
- Click Apply to apply a credit report to the account.
- Select a Credit Bureau from the dropdown and click Run Credit.
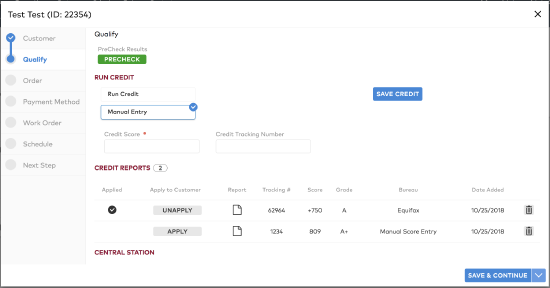
- Manual Entry
- Enter a Credit Score and Tracking Number then click Save Credit (this will appear on the list of Credit Reports without a Bureau listed).
- Click Apply to apply a credit report to the account.
- Click Unapply to unapply a credit report to the account.
- Click Save & Continue to continue with the wizard.
Note: You can select Save & Close on the Save & Continue dropdown to exit the wizard. You can also delete the customer by selecting Delete Customer on the Save & Continue dropdown.
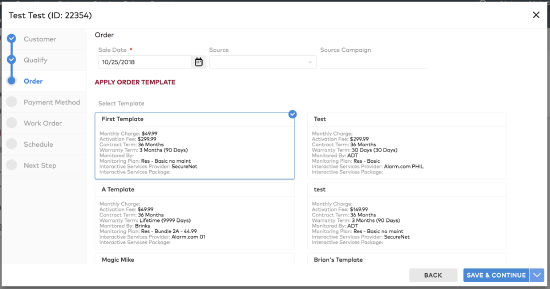
To create an order
The next step of the wizard allows you to create an order. Follow these steps:
- Fill out the required fields and any other desired information.
- Select a Template and Package, if applicable.
- Click Save & Continue.
Note: At this point you can click Back to go back and edit any previously entered information. You can select Save & Close on the Save & Continue dropdown to exit the wizard. You can also delete the customer by selecting Delete Customer on the Save & Continue dropdown.
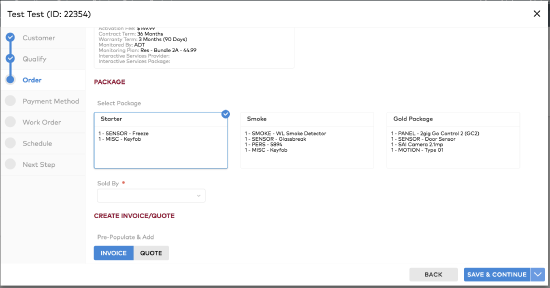
To Auto-Create an Invoice or a Quote
- Click to turn on Invoice and / or Quote.
When on, this will auto-create a quote and / or invoice using the information entered in the wizard.
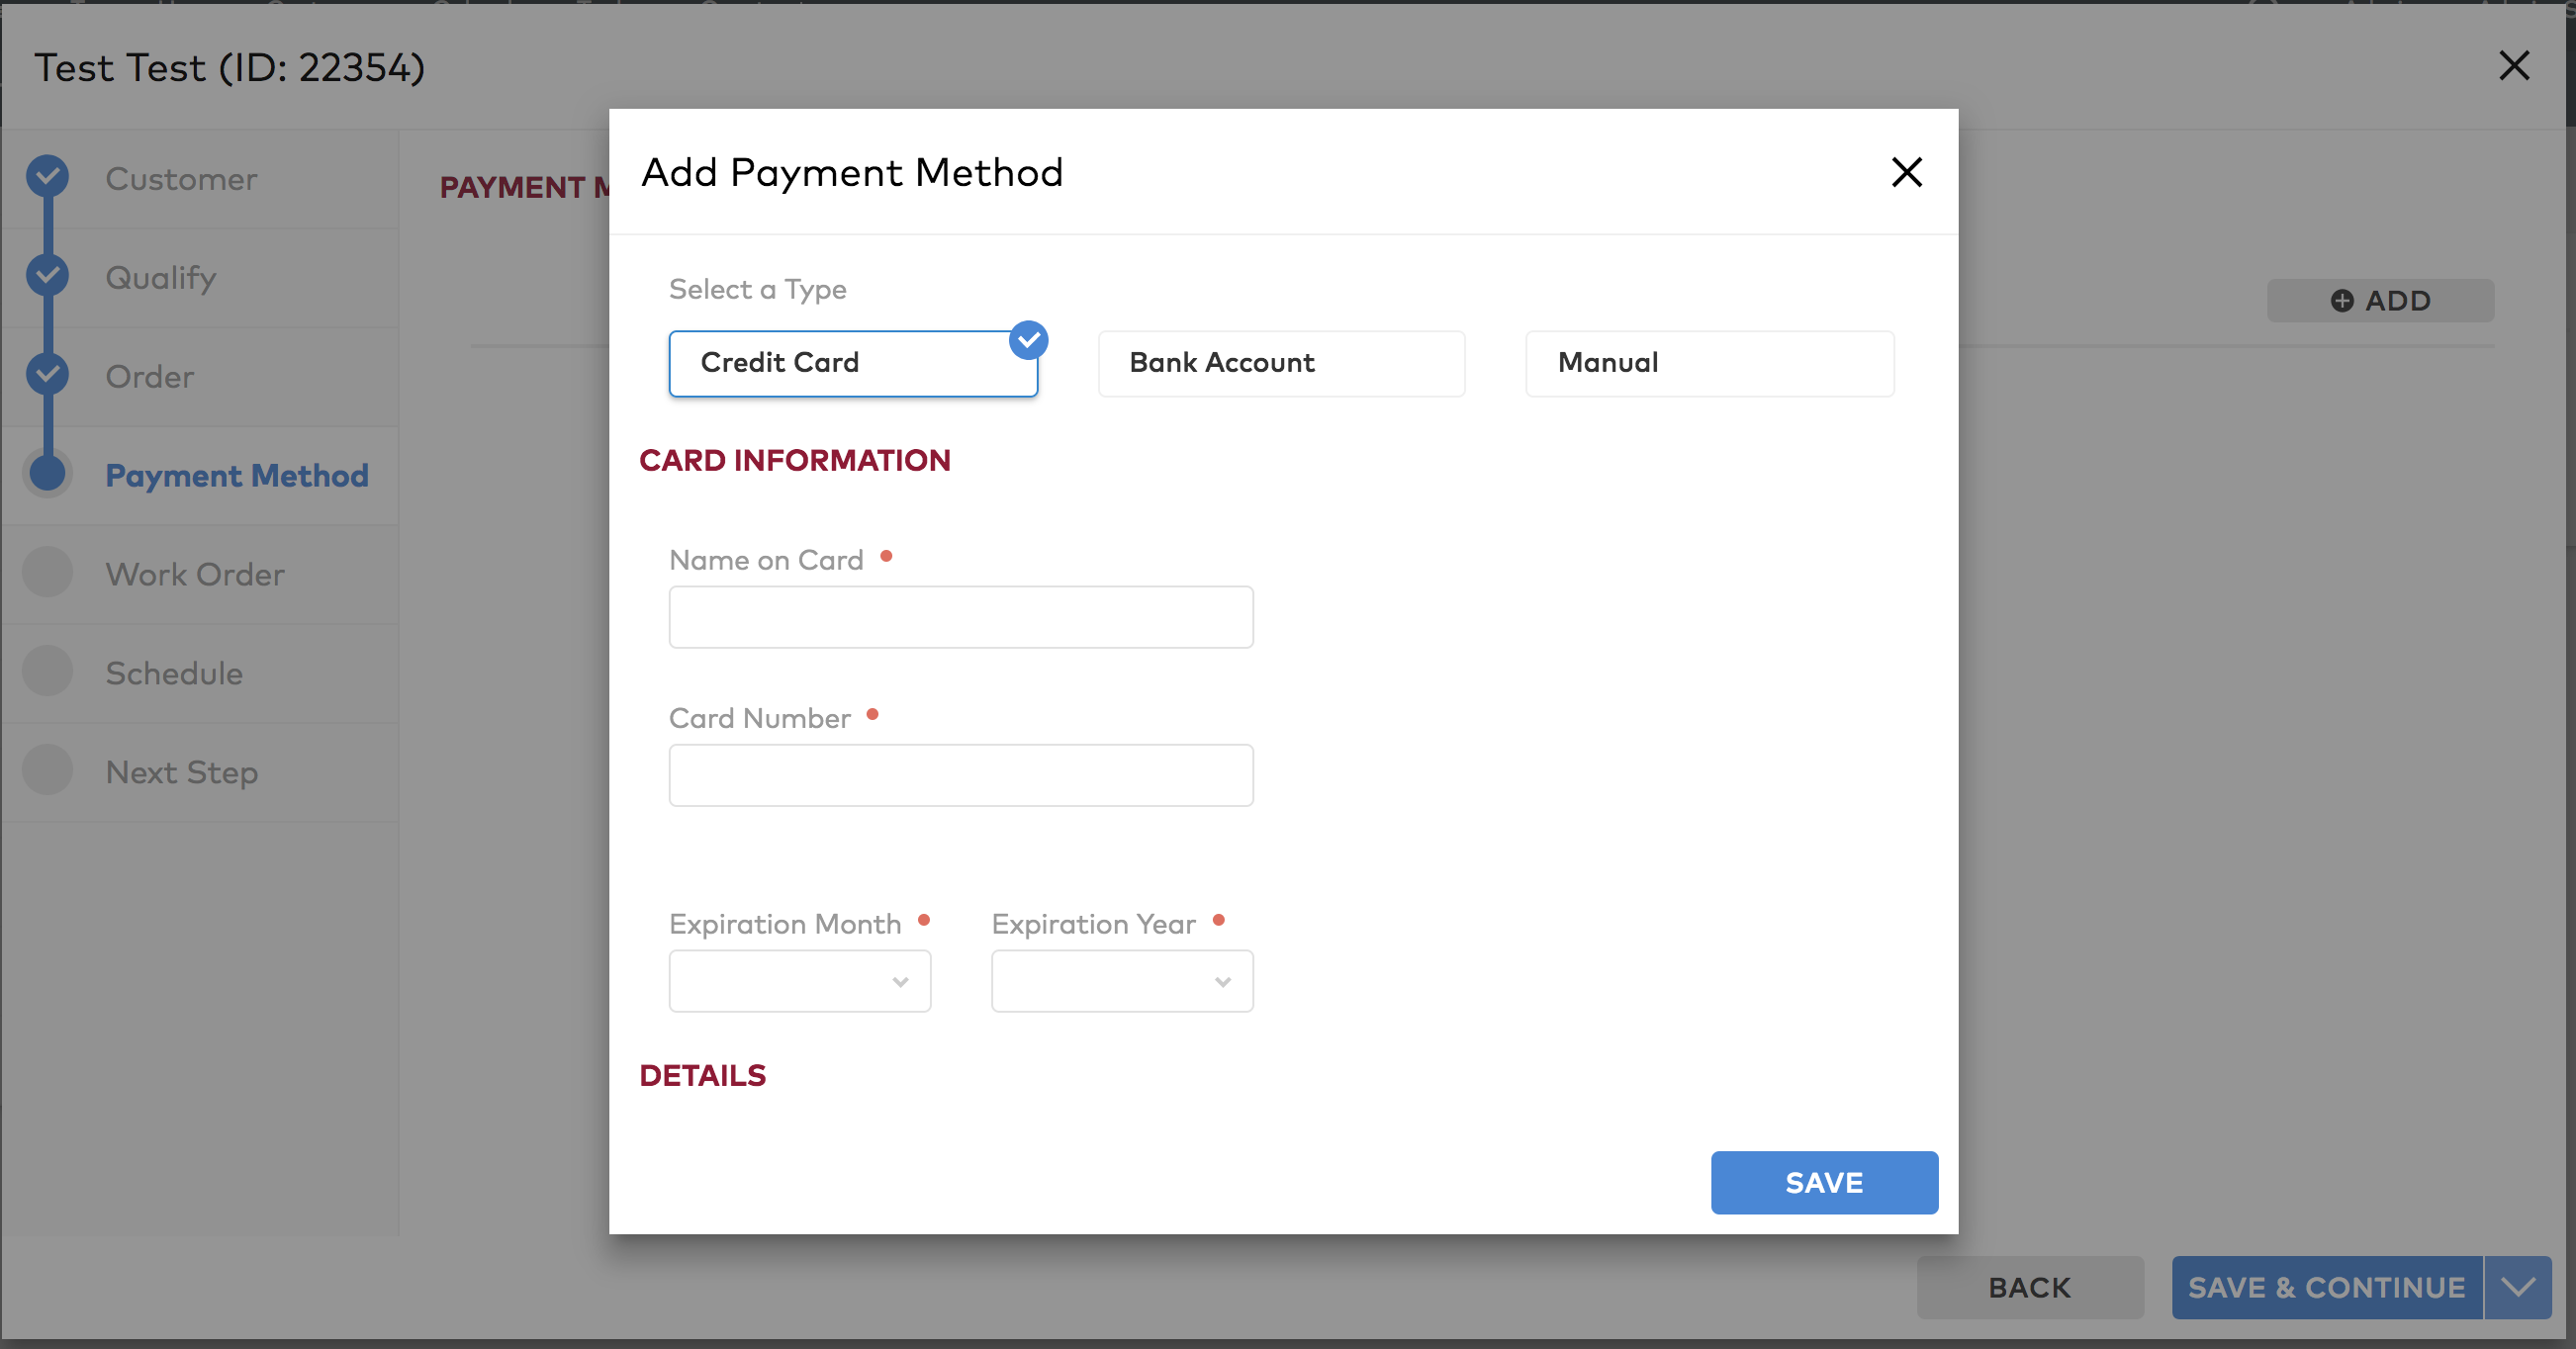
To add a payment method
The next step of the wizard allows you add a payment method. Follow these steps:
- Click ADD, select the payment method and fill out the required fields.
- Click Save to close out of the form.
- Click Save & Continue to go on to the next step.
Note: You can click Back to go back and edit any previously entered information. You can also select Save & Close on the Save & Continue dropdown to exit the wizard.
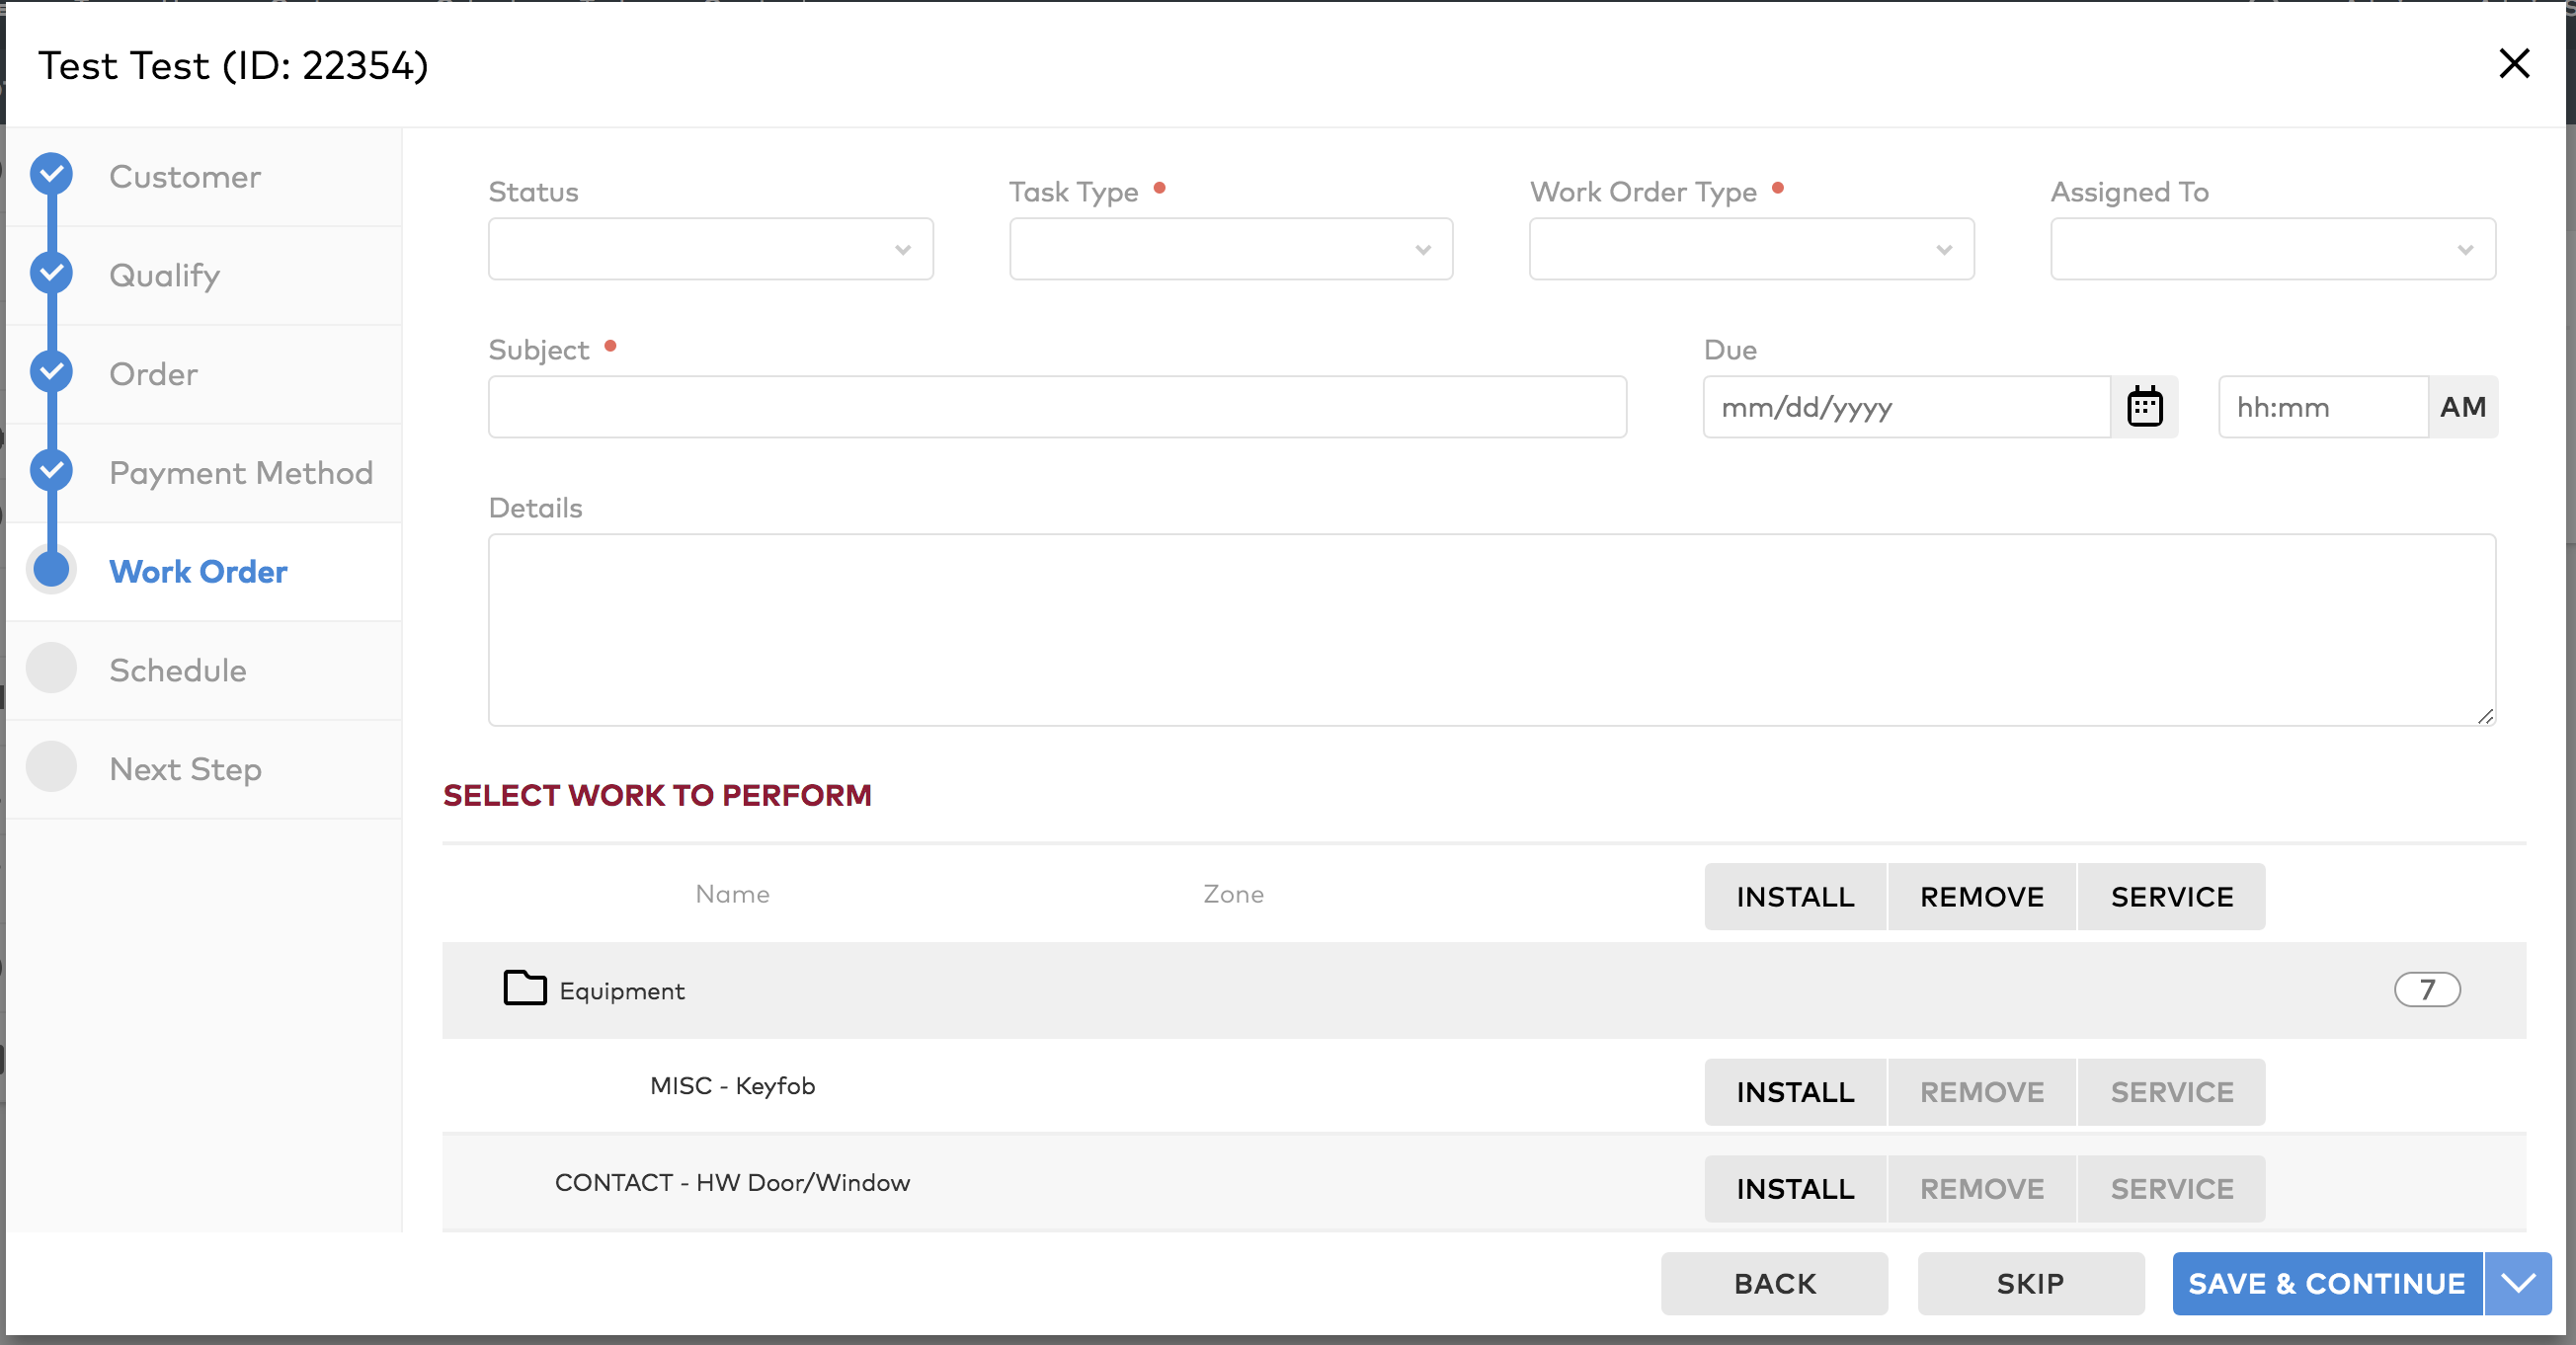
To create a work order
The next step of the wizard allows you create a work order. Follow these steps:
- Fill out the required fields and any other desired information.
- Click Save & Continue.
Note: At this point you can click Skip to skip scheduling, if a work order is not needed, and go on to the next step. You can click Back to go back and edit any previously entered information. You can also select Save & Close on the Save & Continue dropdown to exit the wizard.
To create an appointment
The next step of the wizard allows you to create an appointment schedule. Follow these steps:
- Select a Scheduling Profile.
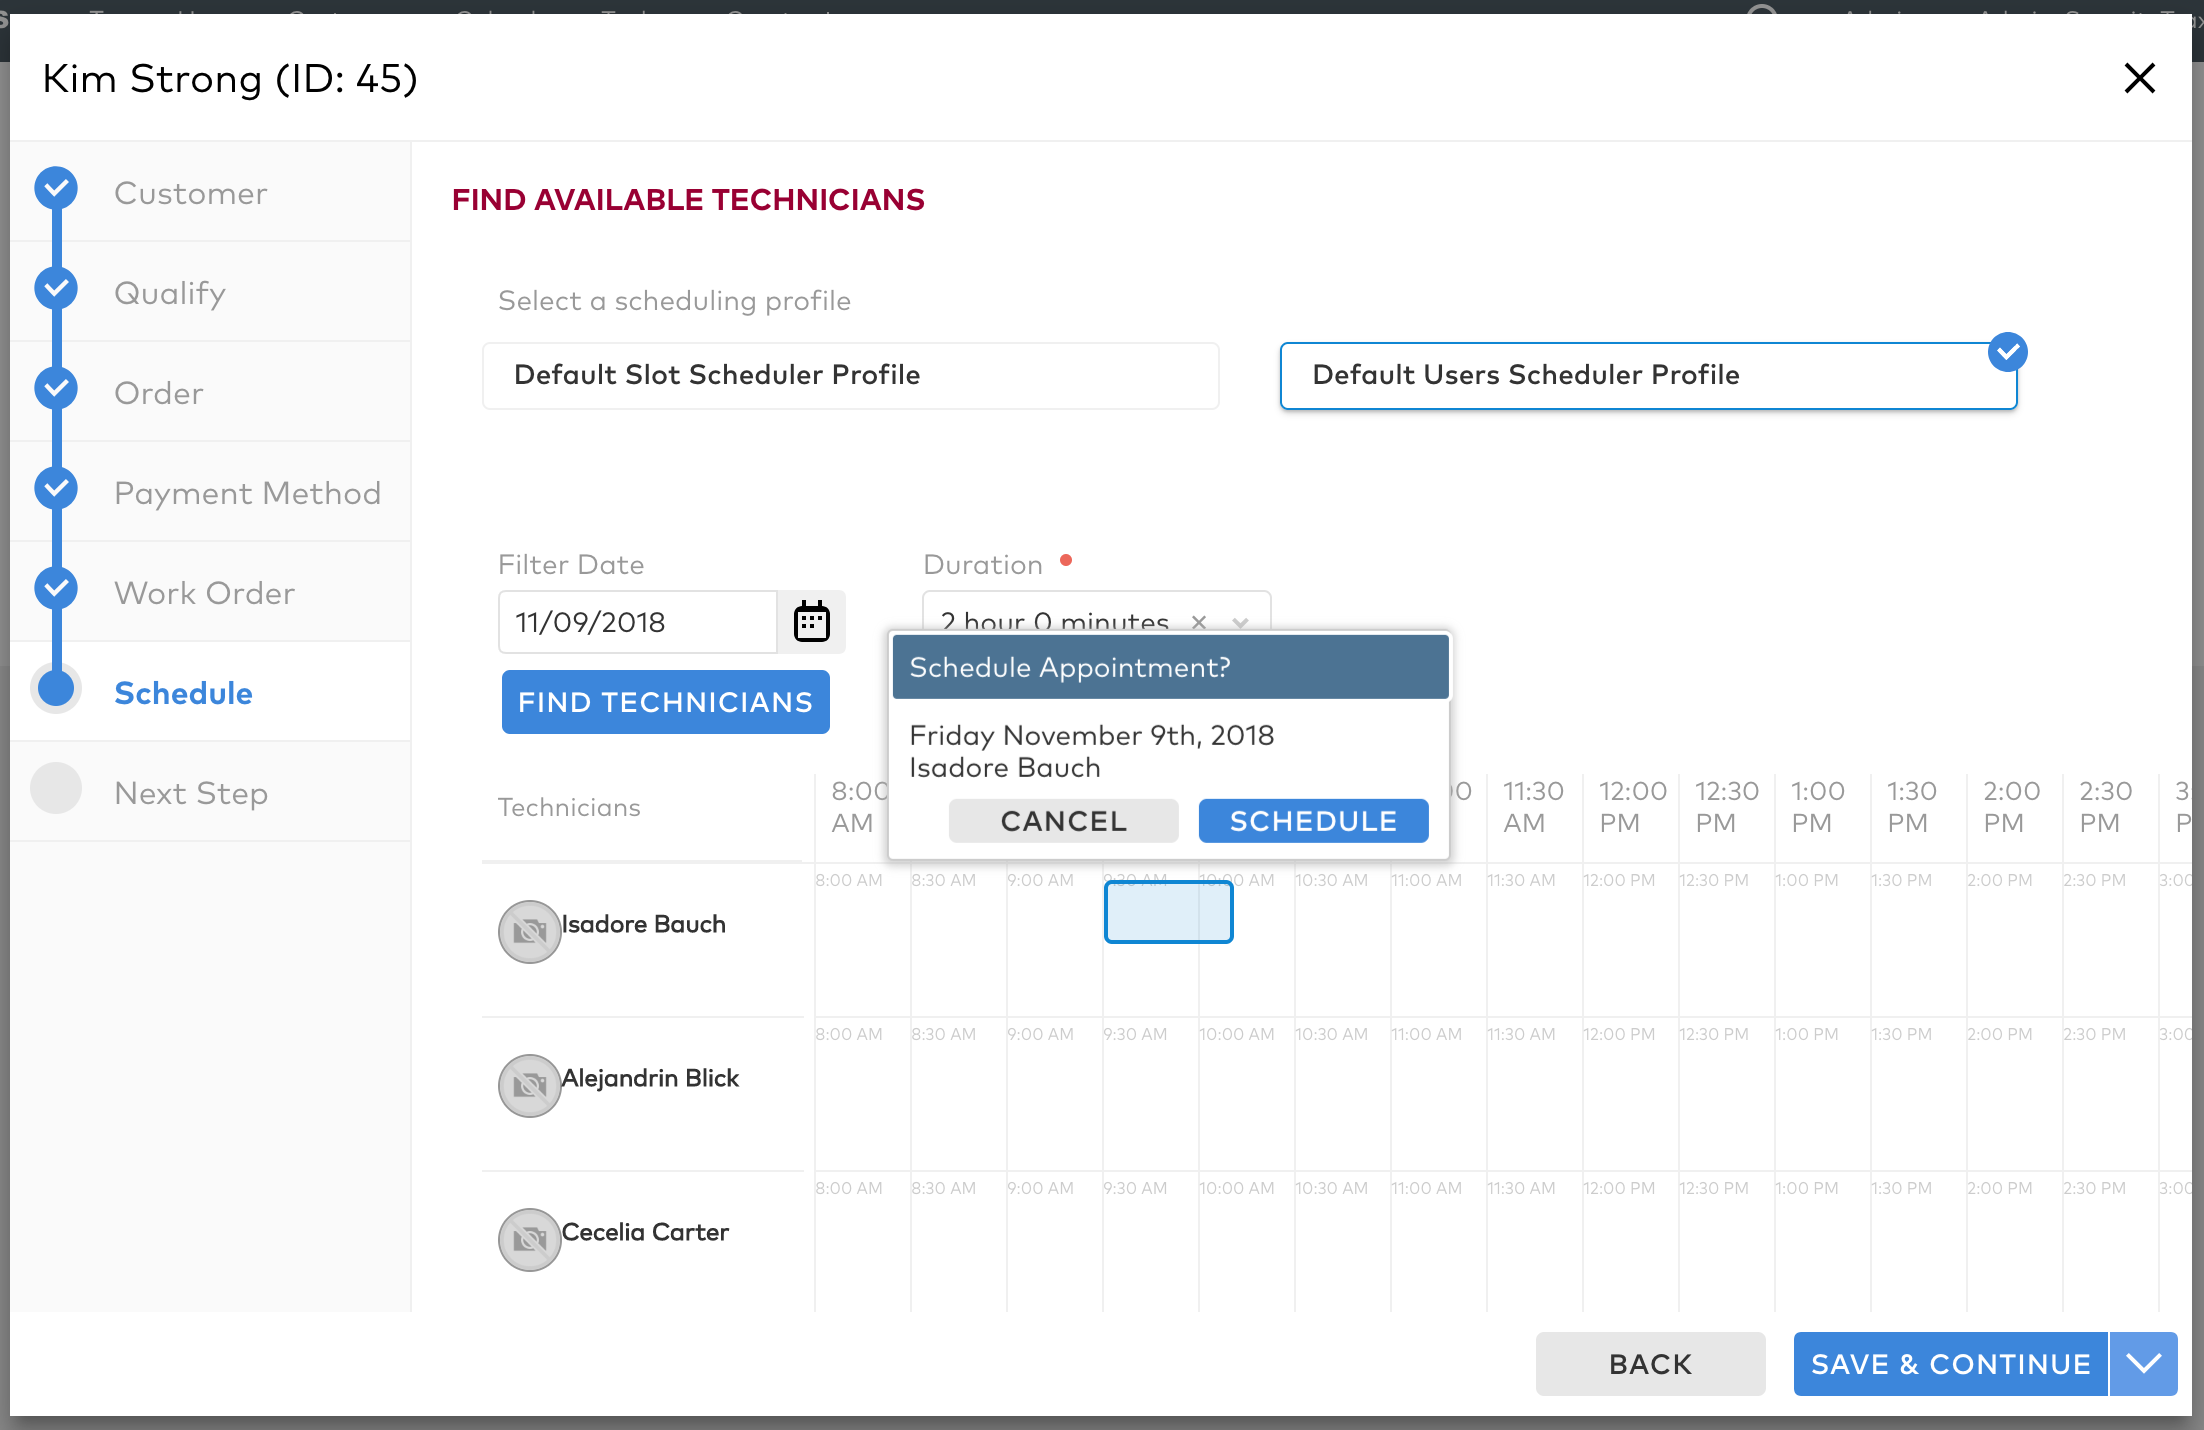
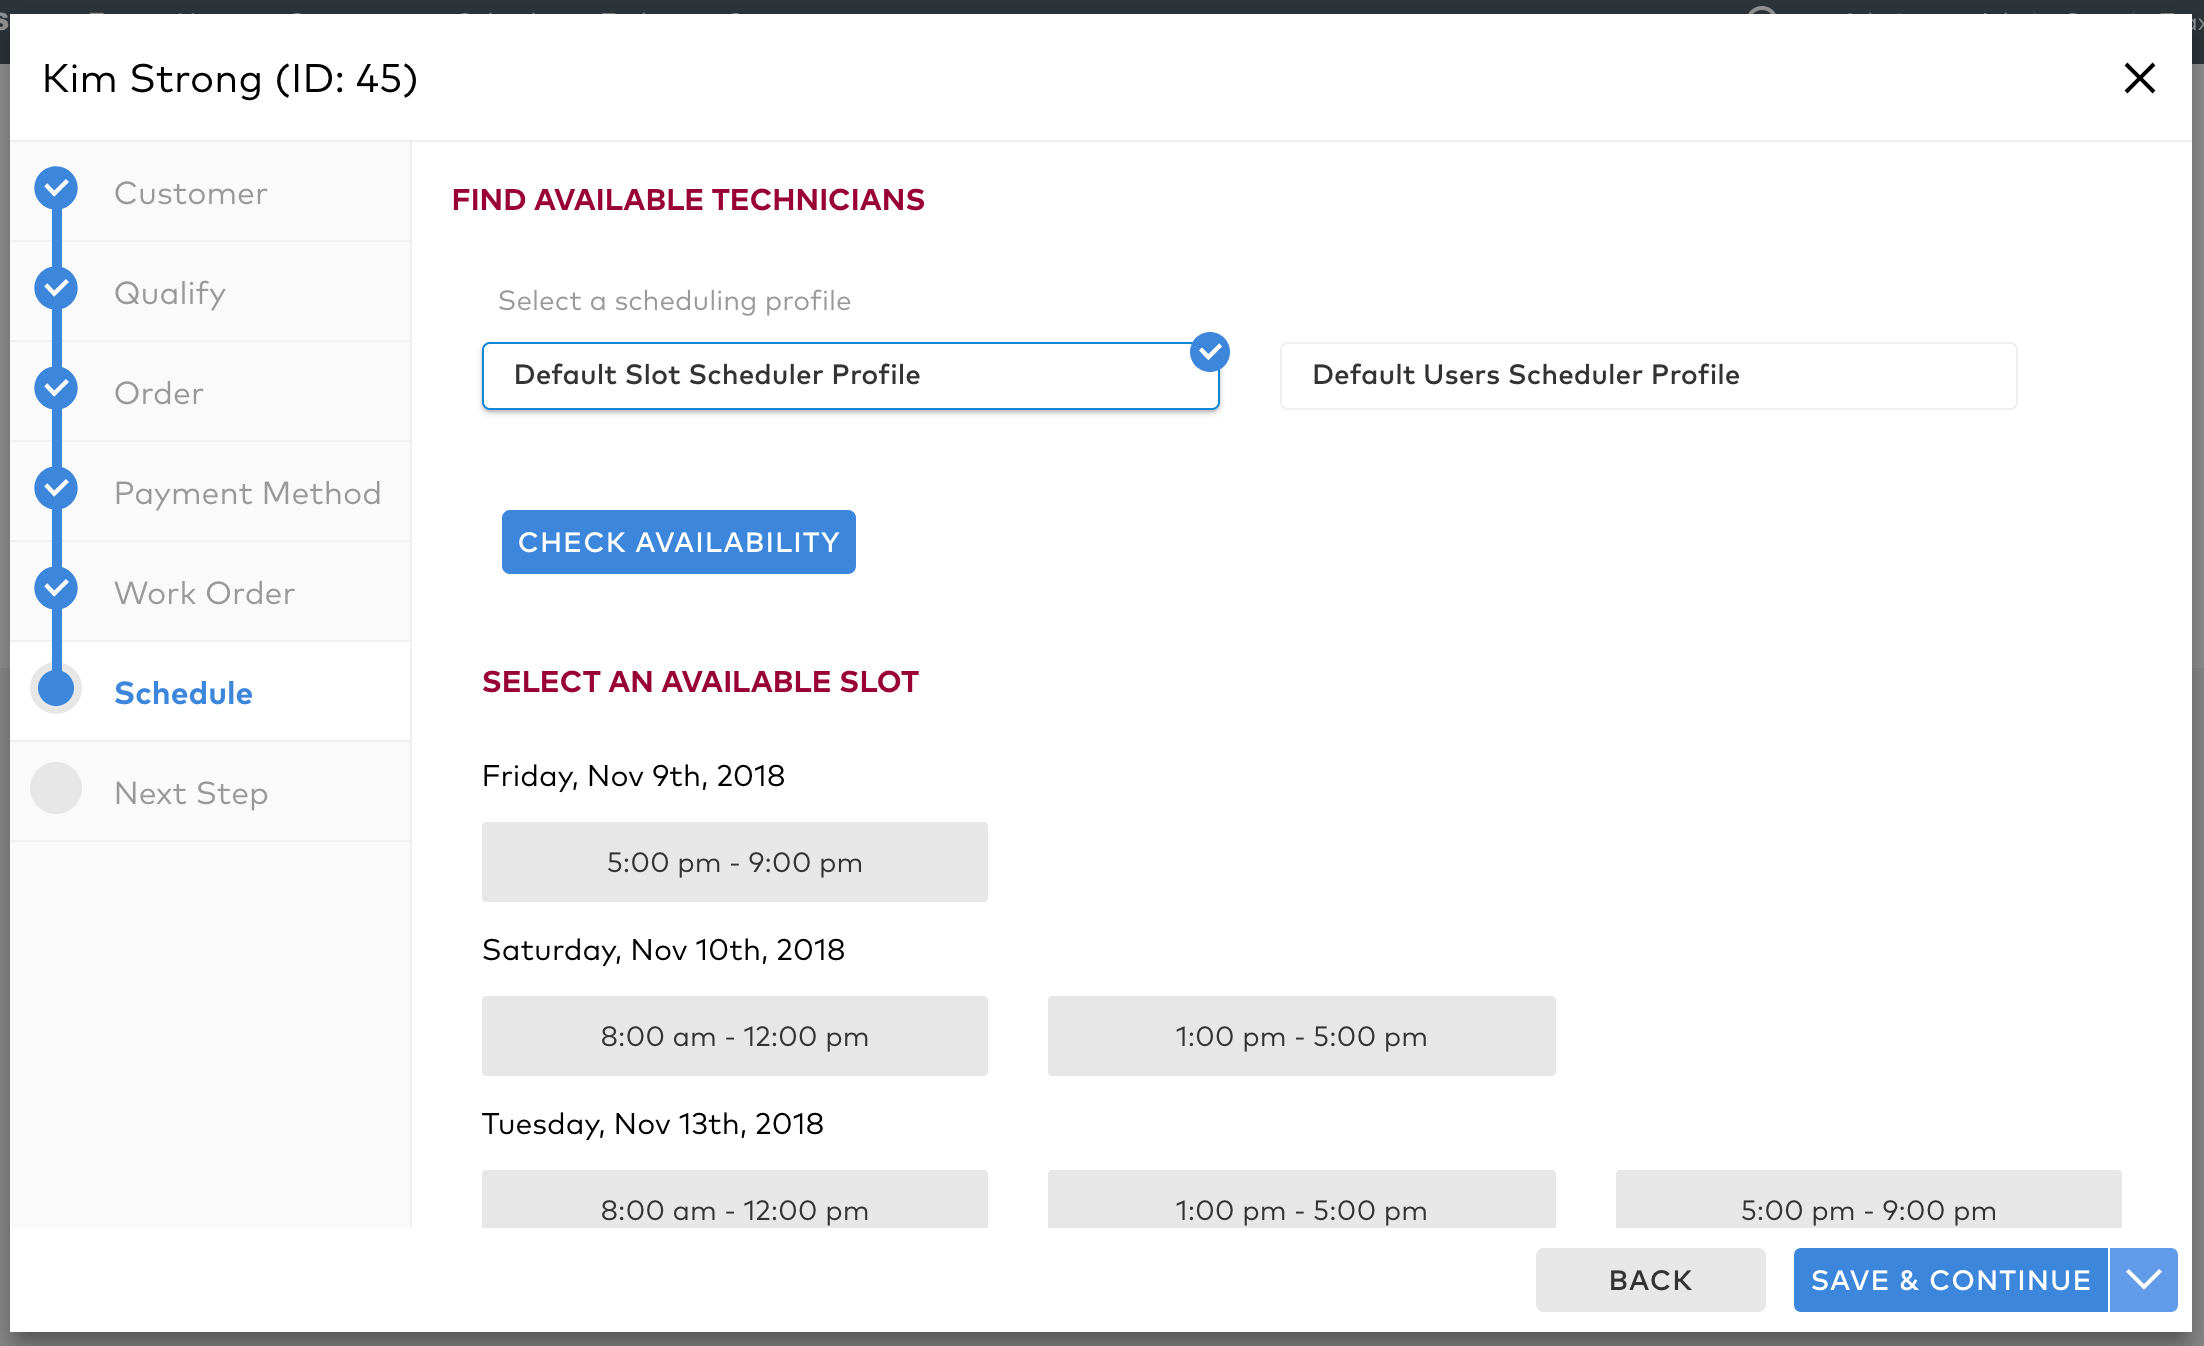
Note: You can click Back to go back and edit any previously entered information. You can select Save & Close on the Save & Continue dropdown to exit the wizard. You can also delete the customer by selecting Delete Customer on the Close dropdown.
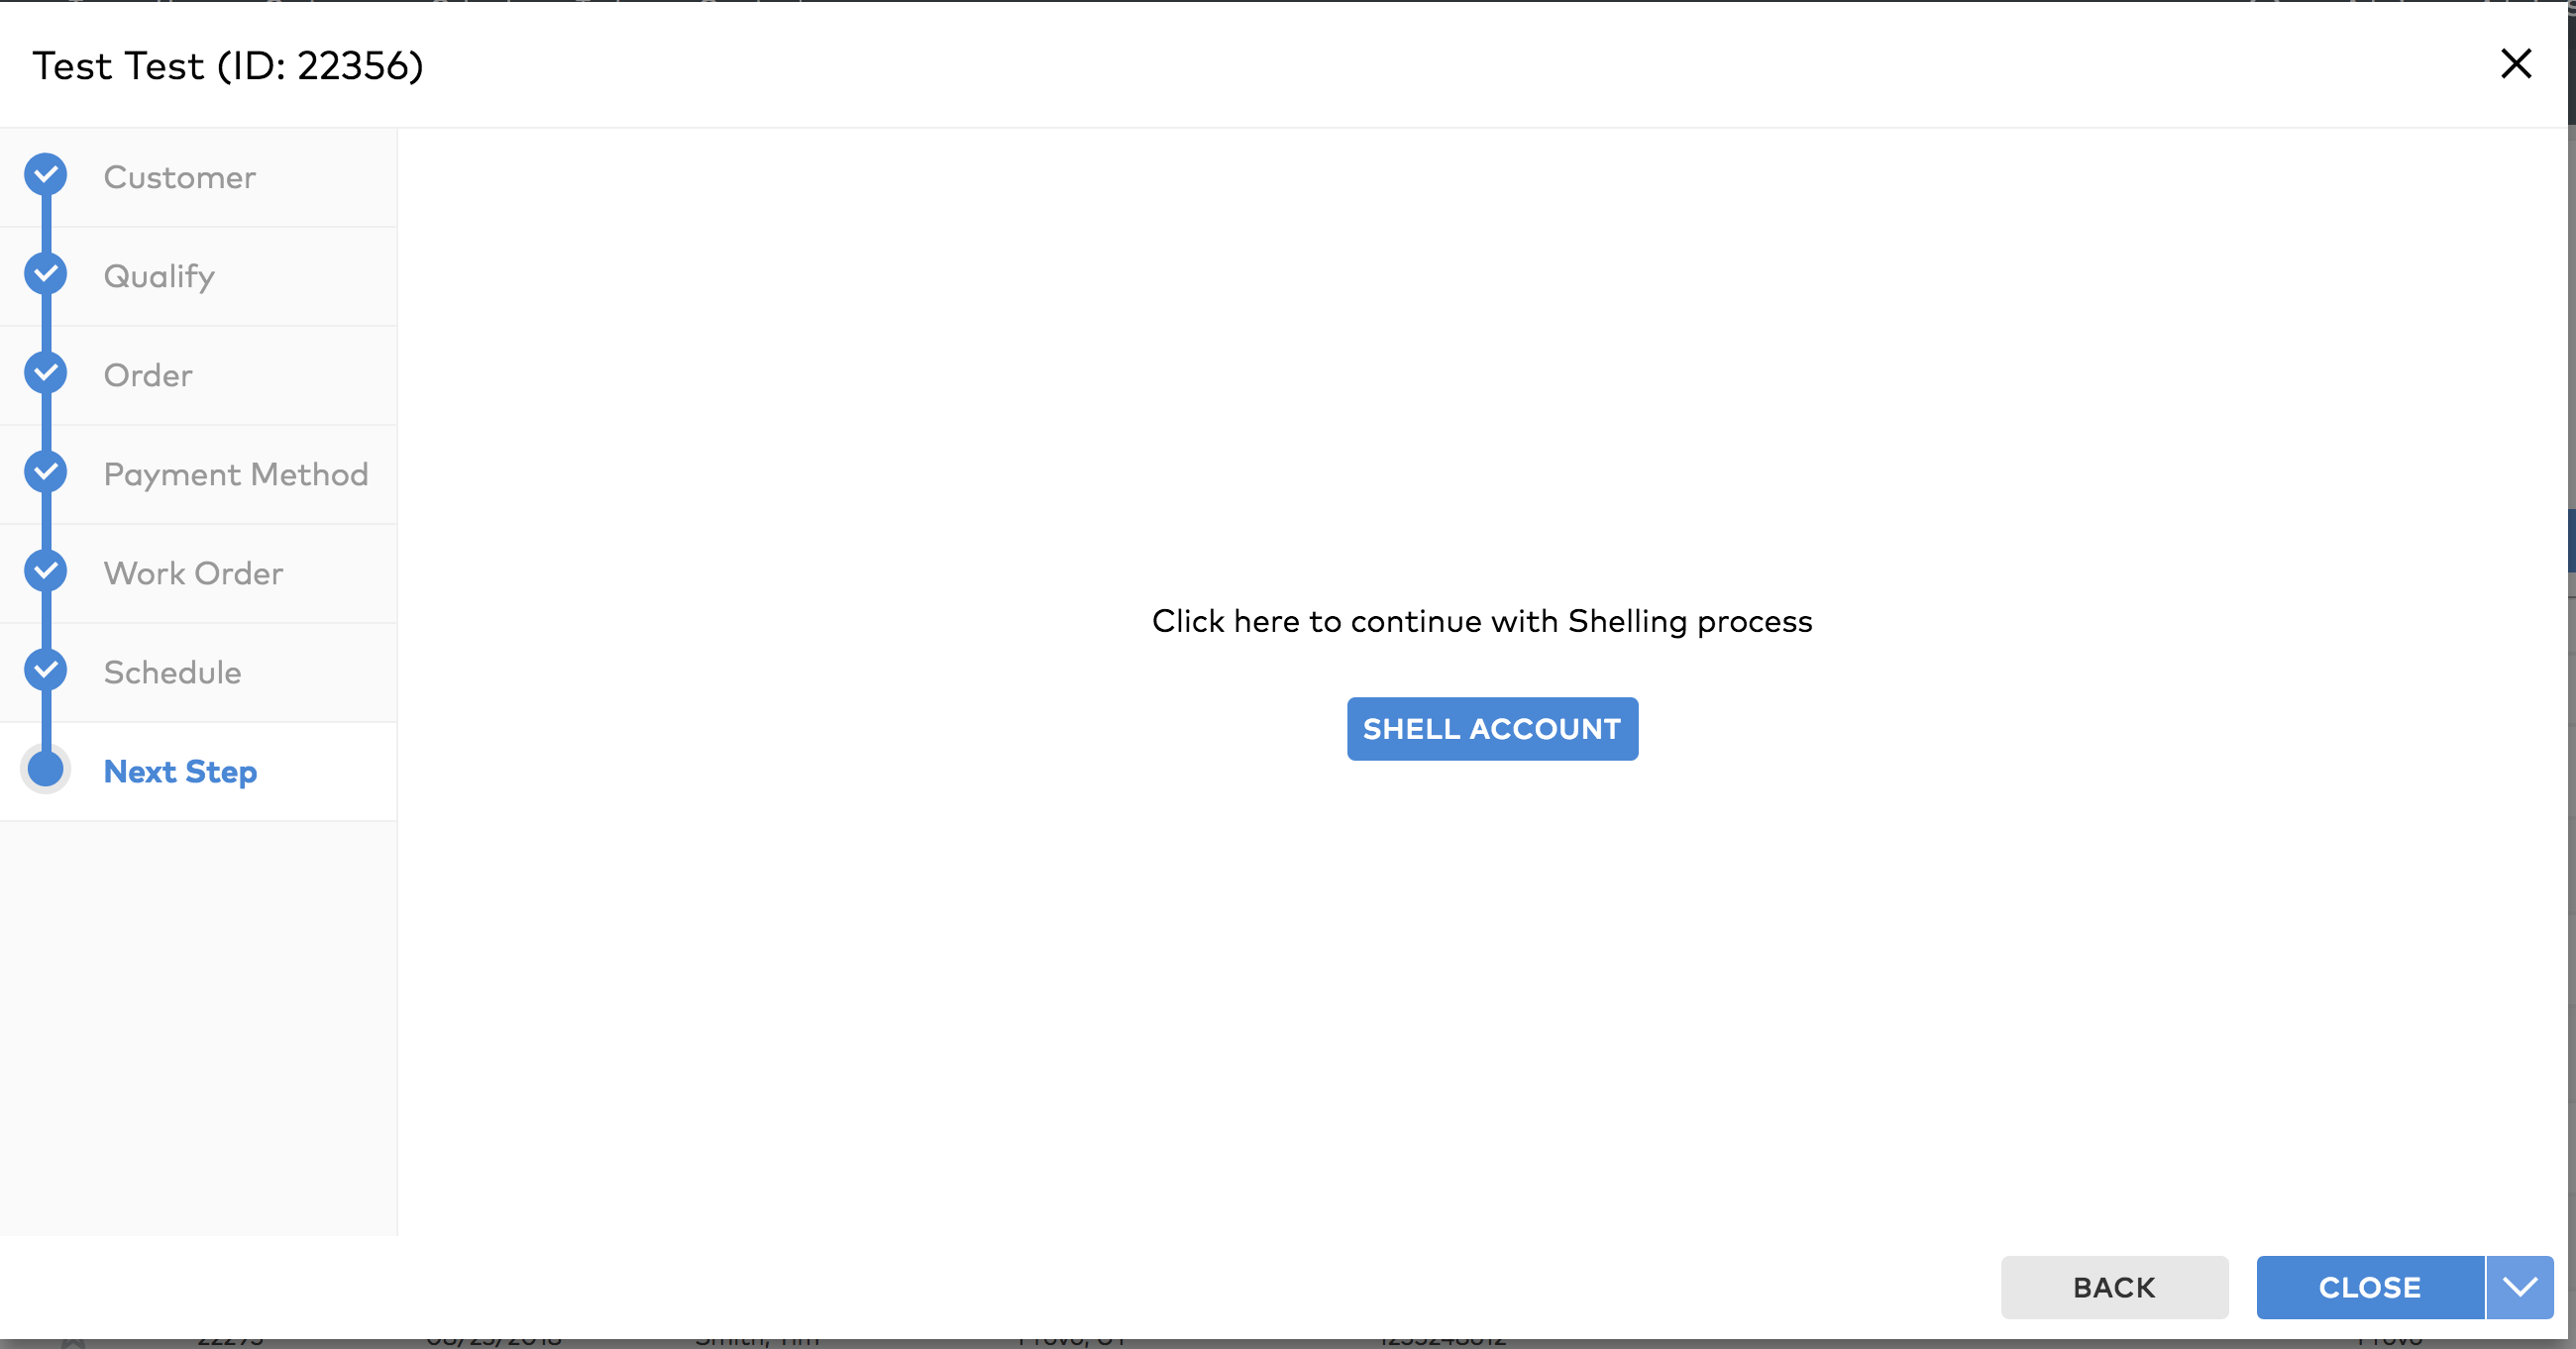
To shell the account
The next step of the wizard allows you shell the account. Follow these steps:
- Click Shell Account to go directly to the shelling window.
Note: This can not be performed if the customer address is not associated with a valid geocode. You can click Back to go back and edit any previously entered information. You can also delete the customer by selecting Delete Customer on the Close dropdown.