How to Manage Customer Messaging
Permissions
To access this page, the group you are in will need the following permissions:
Location: Customer Permissions:

Resource Type: Customer Messages
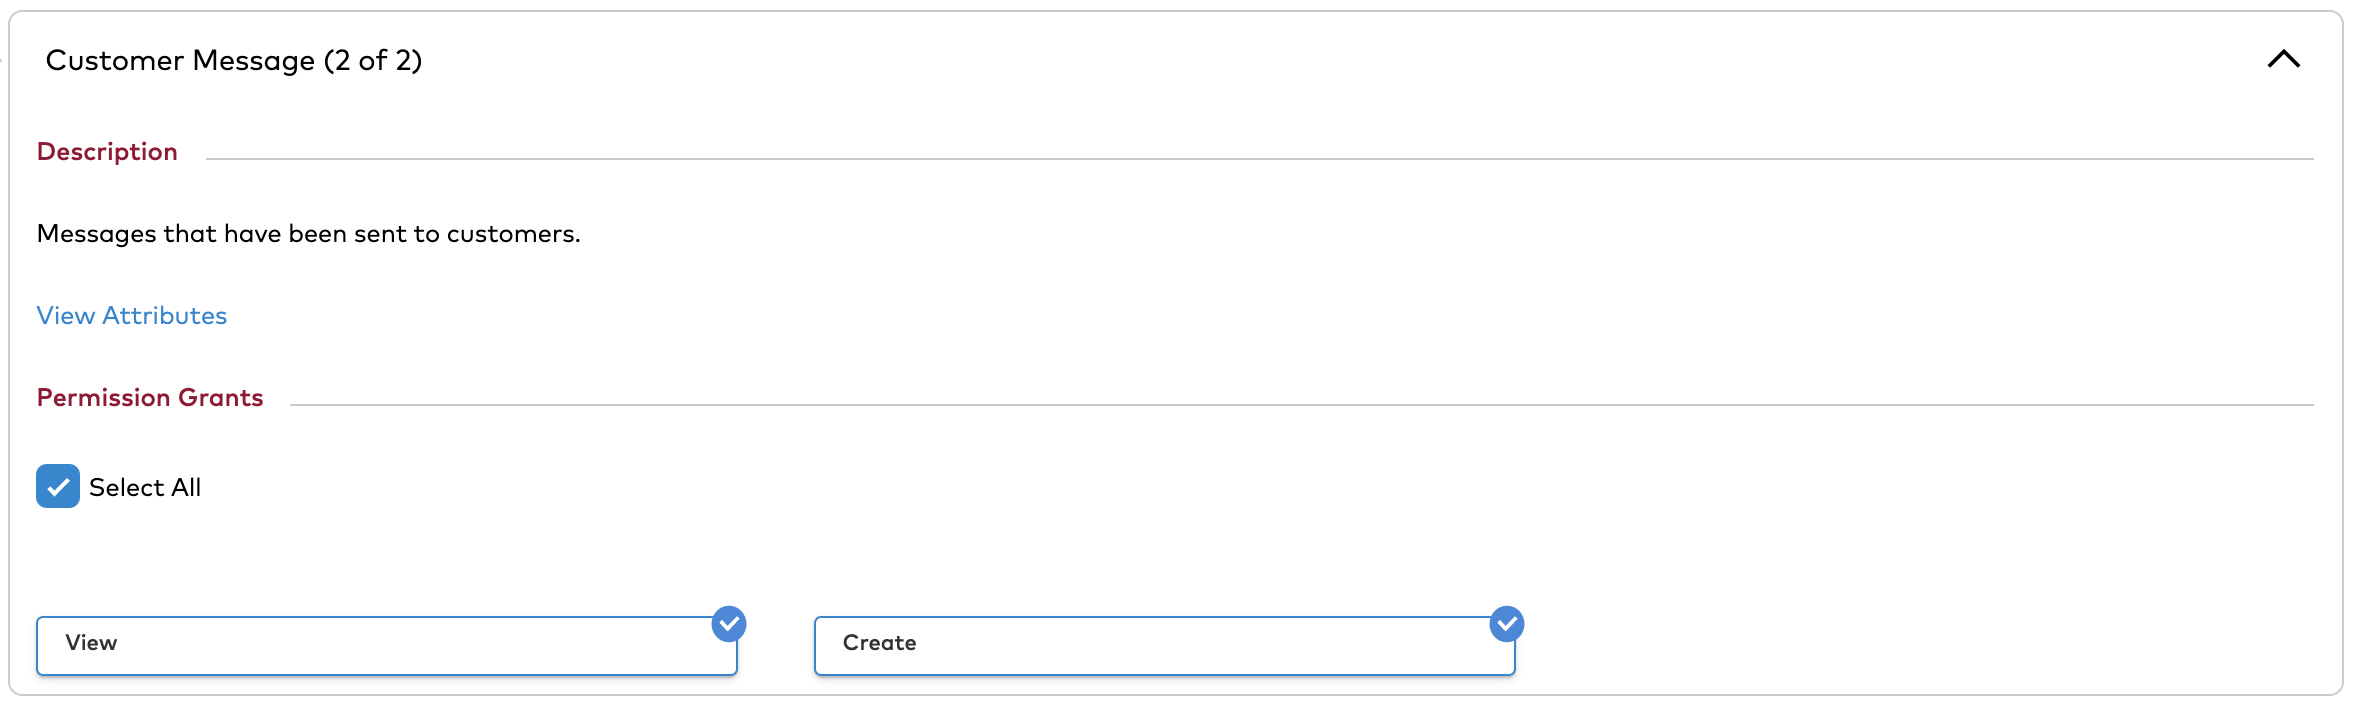
Grants:
- View
- Create
Introduction
Customer messaging allows you to send messages to the customer via email or SMS. You can do this by selecting message templates that are set up by an Admin. See Messaging Templates on how to set up message templates and for a list of placeholder descriptions.
Terms
Model
The model, or object is the thing you want to pull the data from.
Placeholder
Placeholders define the data you want to pull from the model.
Message Template
A Template is a formatted message that may contain models and placeholders that can then be used to send messages without having to create a new message every time.
At-Risk
At-Risk refers to customers that are at risk of attrition.
SMS
SMS stands for Short Message Service which is a text messaging service component.
Create and Send a Message to a Customer
Send Email
- While in the Customer's record, select Messages on the left navigation.
- Note: In mobile, the navigation is at the bottom.
- Click New Message to create a new message.
- Select the desired Message Template.
- Note: Template type (i.e. Email or SMS will be added to the template name at the end in parentheses. This comes from how it was set up in Admin. Once all the fields are selected, the preview will update in real time with data from the Merge Selections
- Fill out the message details. Below are the field descriptions:
To:
In the To section select the email or emails to send the message to. Note: The email options include the customer's email and the emergency contact emails.
Merge Selection:
In this section, select the model item. For example, if the template has a Tech Schedule model, you would select the tech appointment here.
Message Preview:
The message preview will display the message with placeholders in red. Once the model item is selected, the message will update with the data from the model and display a preview of the message as it will be sent.
Send SMS
- While in the Customer's record, select Messages on the left navigation.
- Note: In mobile, the navigation is at the bottom.
- Click New Message to create a new message.
- Select the desired Message Template.
- Note: Template type (i.e. Email or SMS will be added to the template name at the end in parentheses. This comes from how it was set up in Admin. Once all the fields are selected, the preview will update in real time with data from the Merge Selections
- Fill out the message details. Below are the field descriptions:
To:
In this section select the cell phone number or numbers to send the message to. Note: The options include the customer's cell phone and the emergency contact cell phone numbers.
Merge Selection:
In this section, select the model item. For example, if the template has a Tech Schedule model, you would select the tech appointment here.
Message Preview:
The message preview will display the message with placeholders in red. Once the model item is selected, the message will update with the data from the model and display a preview of the message as it will be sent.
View Accounting Messages
- While in the Customer's record, select Messages on the left navigation.
- Note: In mobile, the navigation is at the bottom.
- Accounting messages can be found below the Email and SMS messages.
- This list will log when the following message types are sent to customers:
- Invoices
- Quotes
- Credit memos
- Refund receipts
- Invoice statements
- Customer payments
- The dates and times these messages were sent as well as the contact they were sent to are also displayed.