Accounting Provider
Overview
With the QuickBooks Online integration you can eliminate redundant data entry and send eligible customers, invoices, payments, credit memos and refund receipts in bulk to your QuickBooks Online account. With this integration you must manually select which items you want to send to QuickBooks Online.
Important Considerations
-
Important: Changes made in QuickBooks Online will not be synced back to SecurityTrax. This integration will only push data from SecurityTrax to QuickBooks.
-
Invoices can only be synced to QuickBooks Online if they have one tax rate. Invoices with multiple tax rates will not appear in the Sync list.
-
Customers will be automatically created in QuickBooks Online the first time an object for that customer is synced.
-
Only objects created after the integration is configured are eligible to be synced to QuickBooks Online. If you would like to sync older objects, please contact SecurityTrax.
-
The process of syncing objects is not immediate. Objects that have been selected to sync will be sent to QuickBooks Online overnight.
-
Conditions that will trigger an object to appear on the Sync list are:
-
New object is created in SecurityTrax
-
Existing synced object is updated in SecurityTrax
-
Existing synced object is deleted in SecurityTrax
-
Setup
The integration can be configured my navigating to Company Settings > Accounting Provider. Clicking the LINK button will open a screen where you will log into to your QuickBooks Online account.
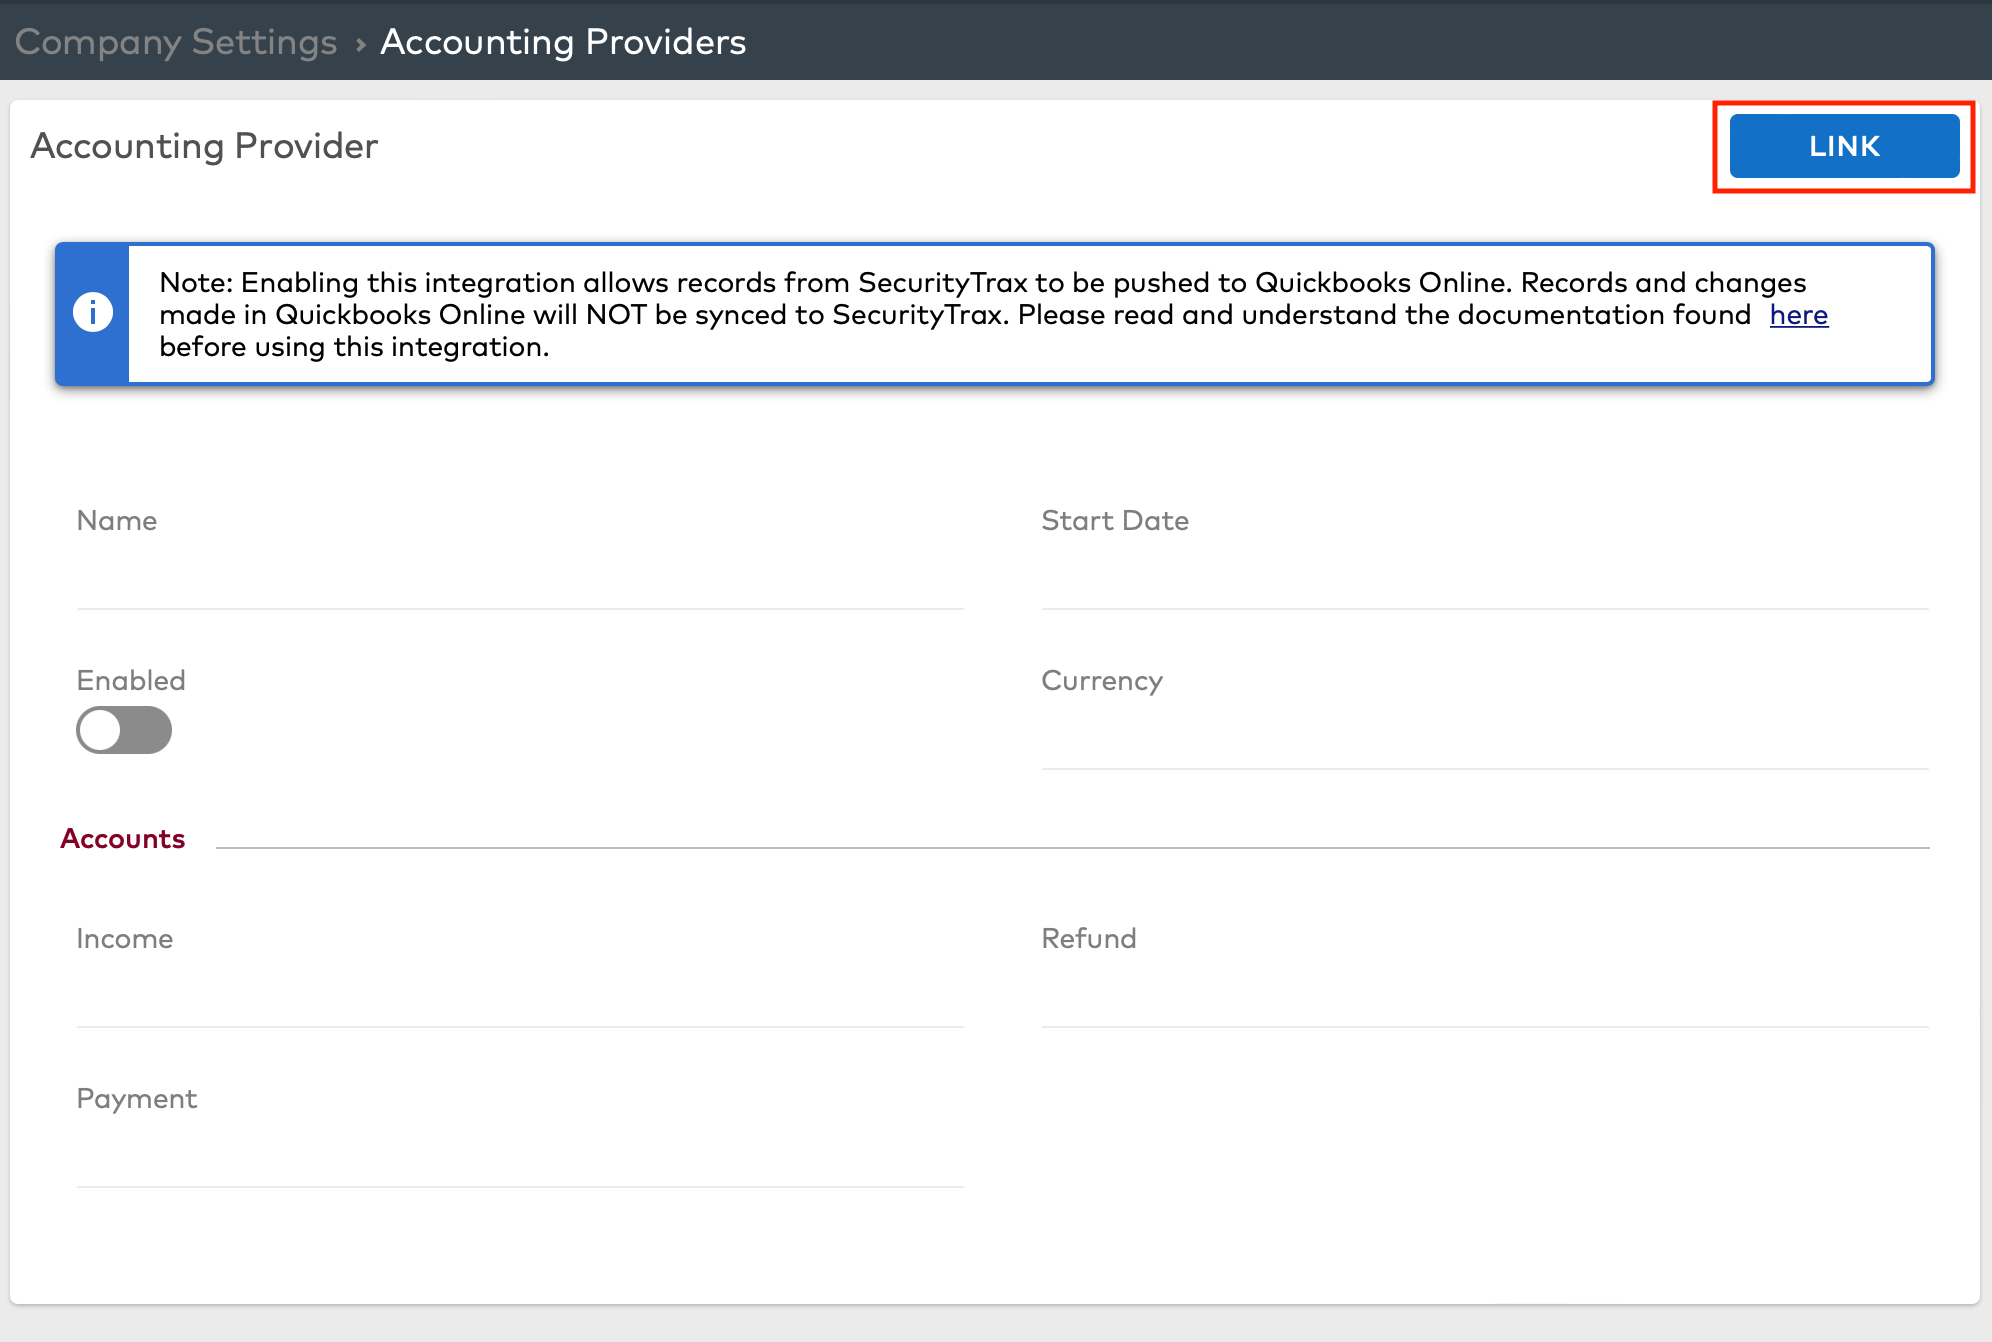
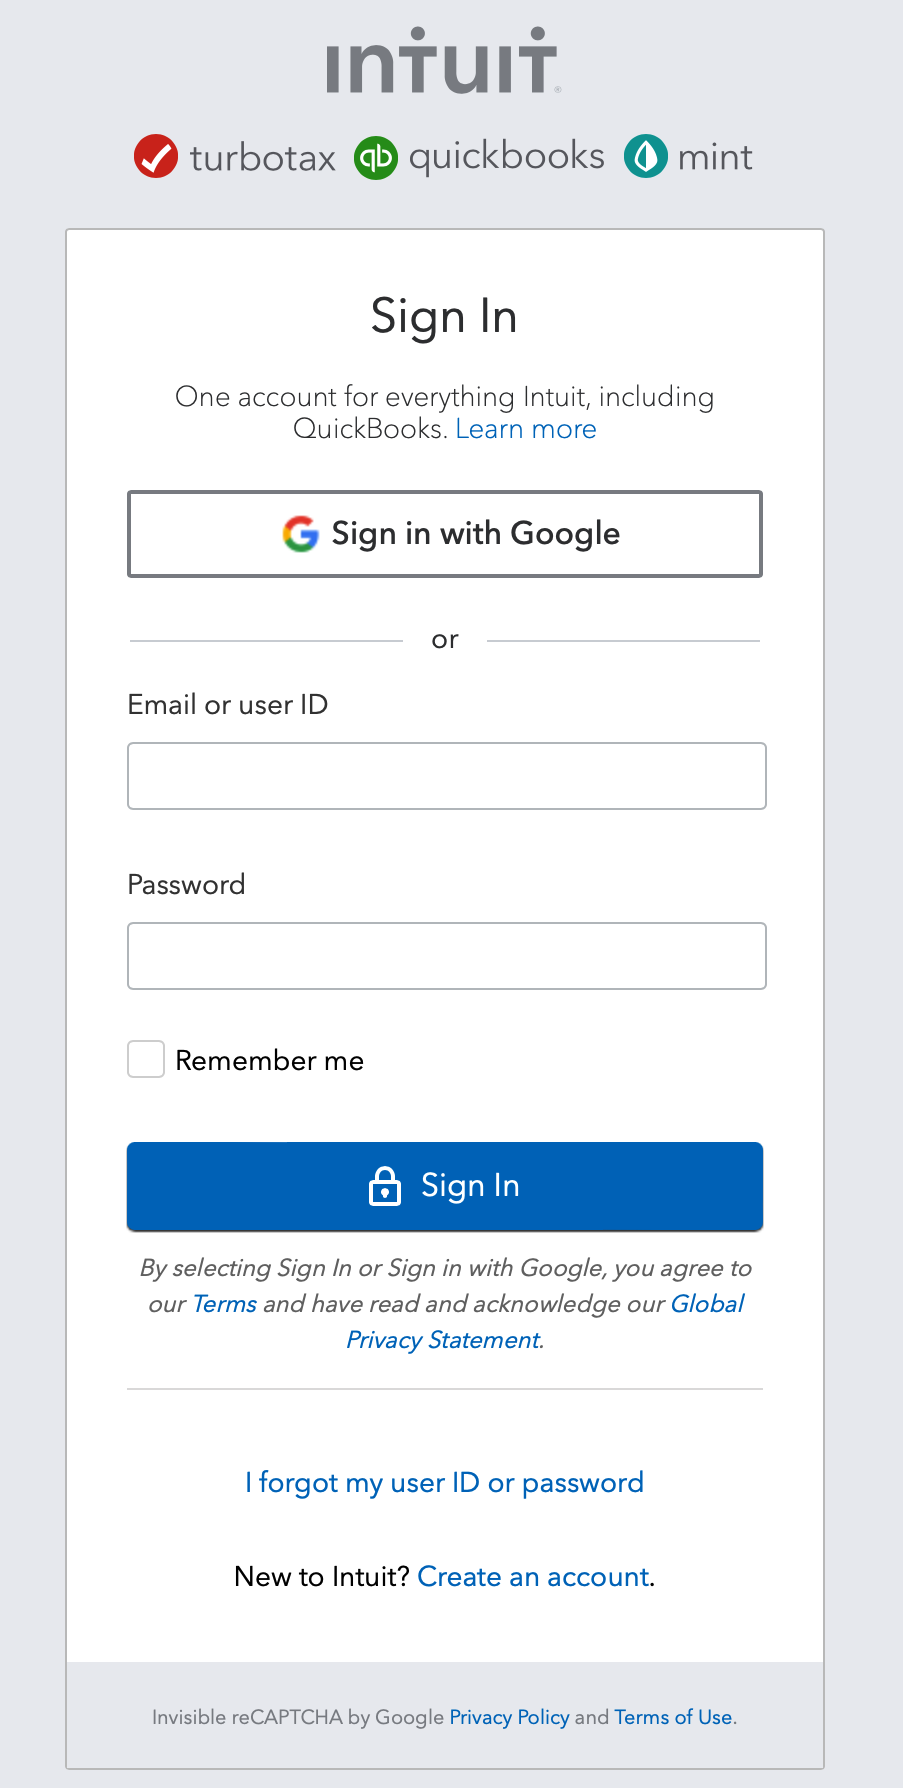
Note: you must use a QuickBooks Online user with with the Admin User Type.
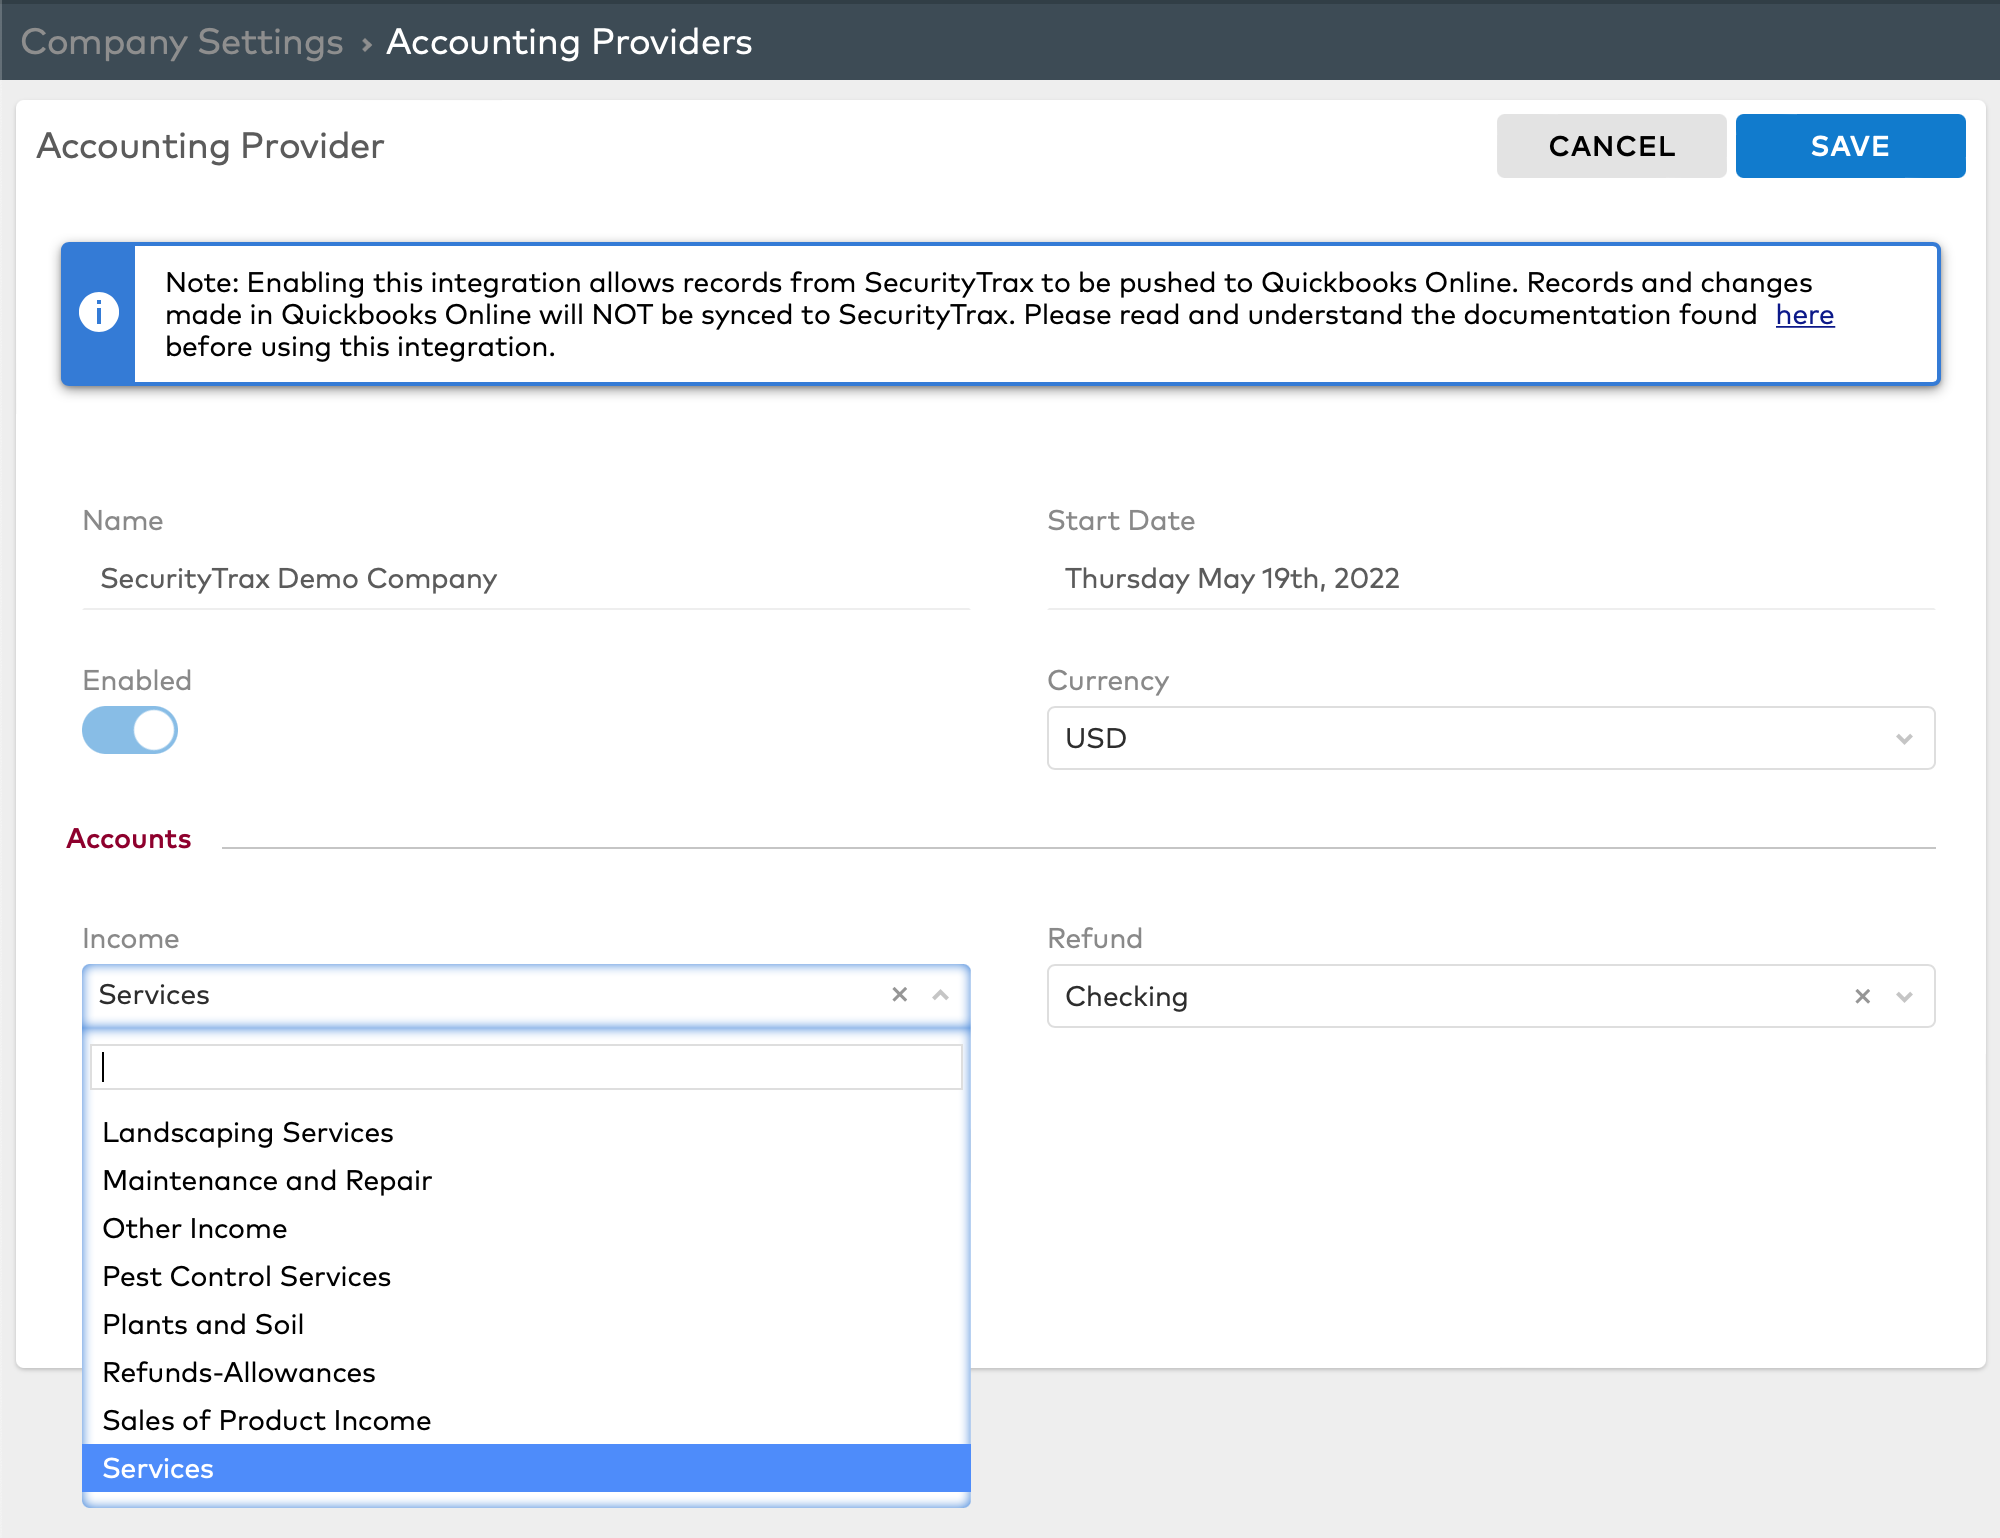
Once your account is linked you will need to select the QuickBooks Online accounts SecurityTrax will use for Income, Payments and Refunds.
Syncing Objects
Objects can be selected to sync to QuickBooks Online from the Company Accounting screen.
If the integration is enabled in Company Settings, you will see a new SYNC button on the screens for Payments, Invoices, Credit Memos and Refund Receipts.
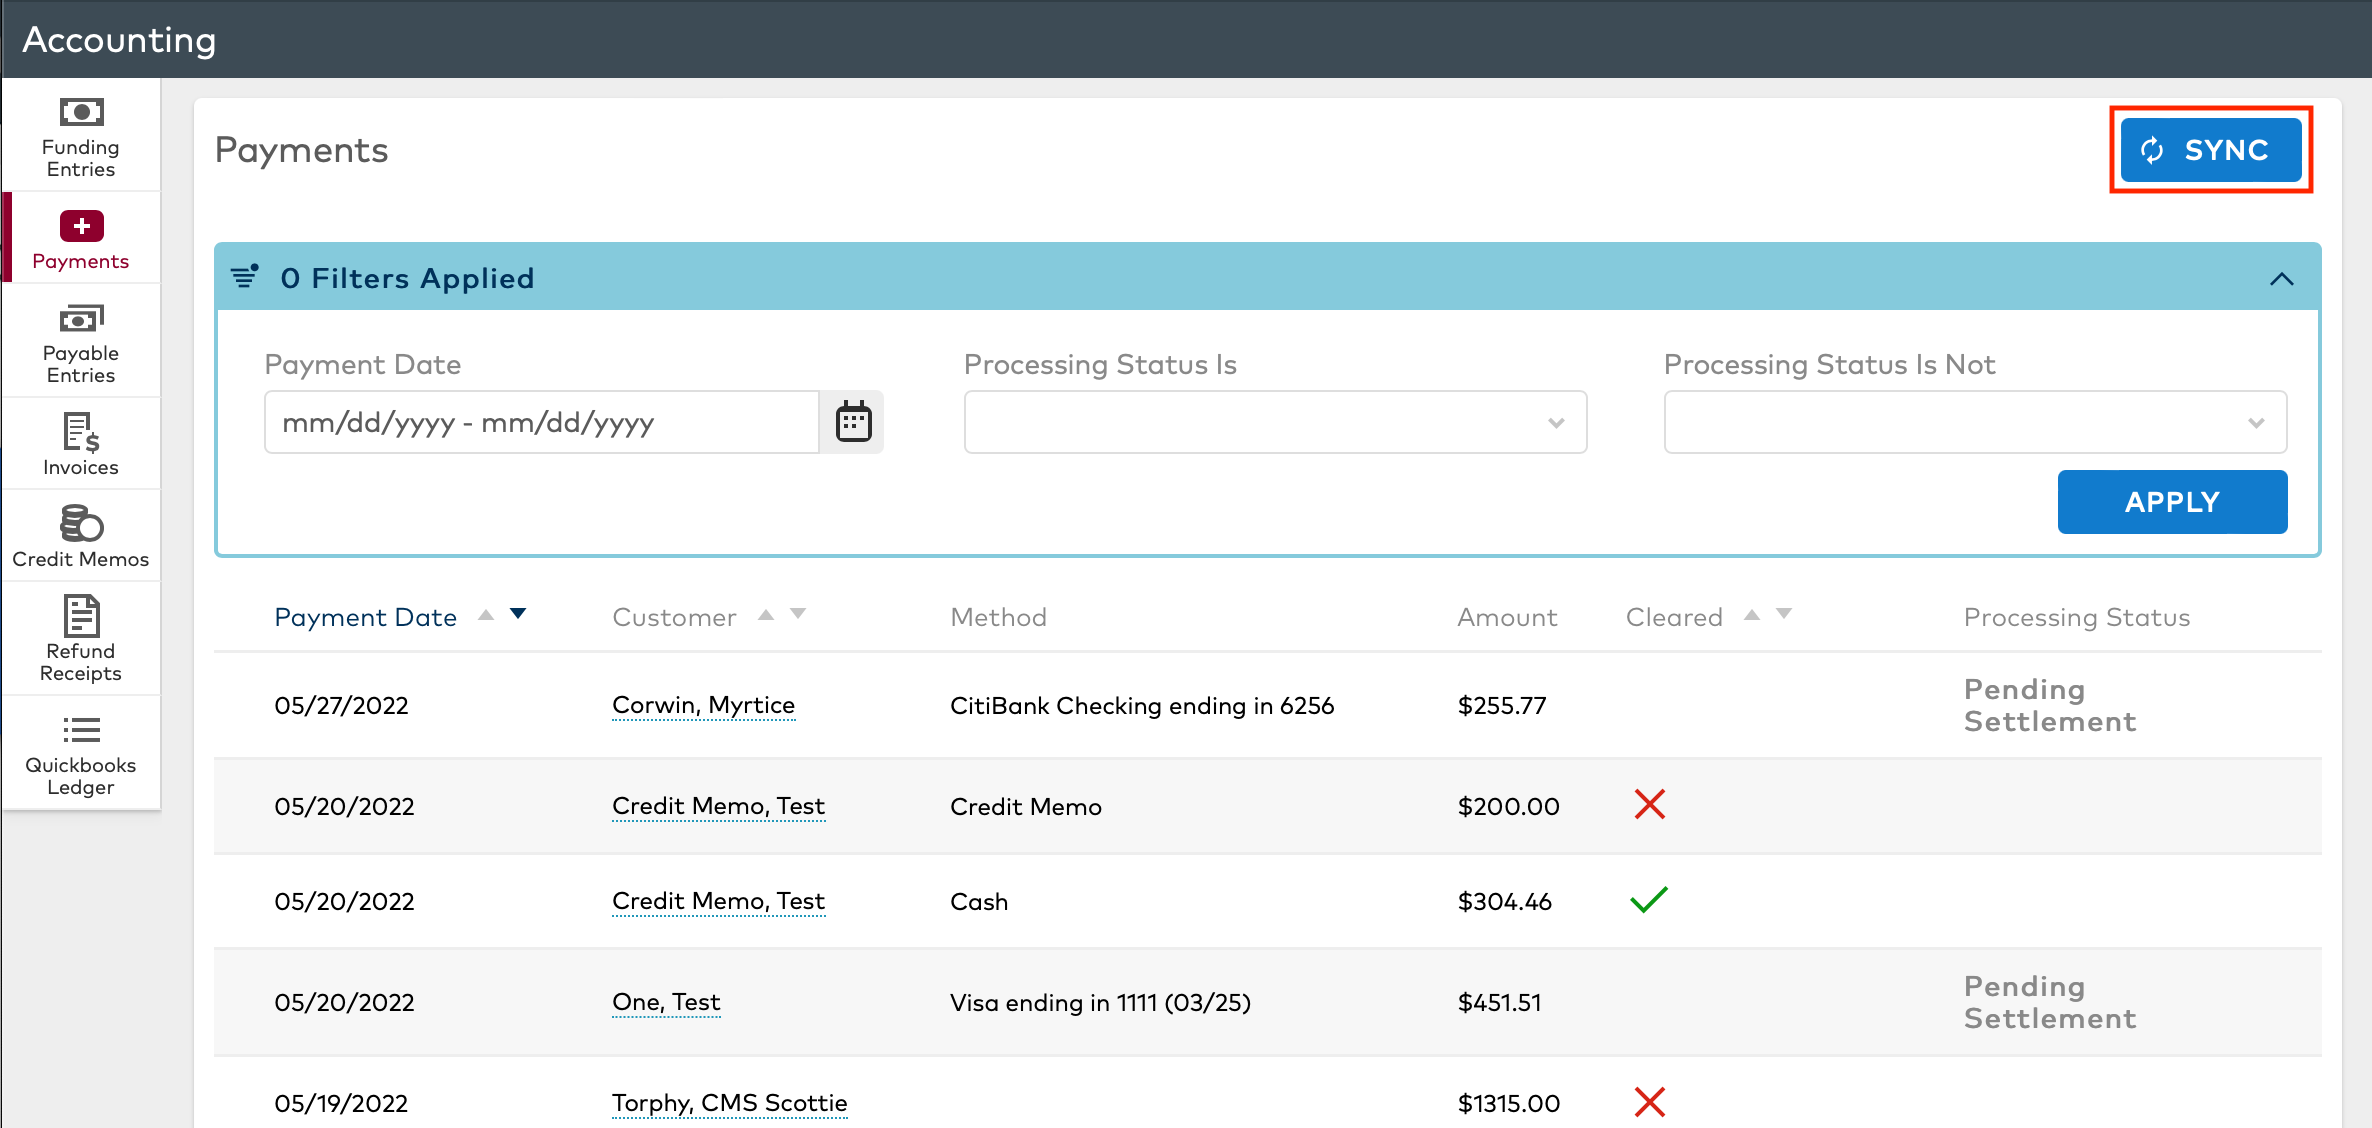
Clicking the SYNC button will open a screen that will show all objects that are eligible to sync. Toggle the Sync button for each object you want to sync to QuickBooks Online and select save.
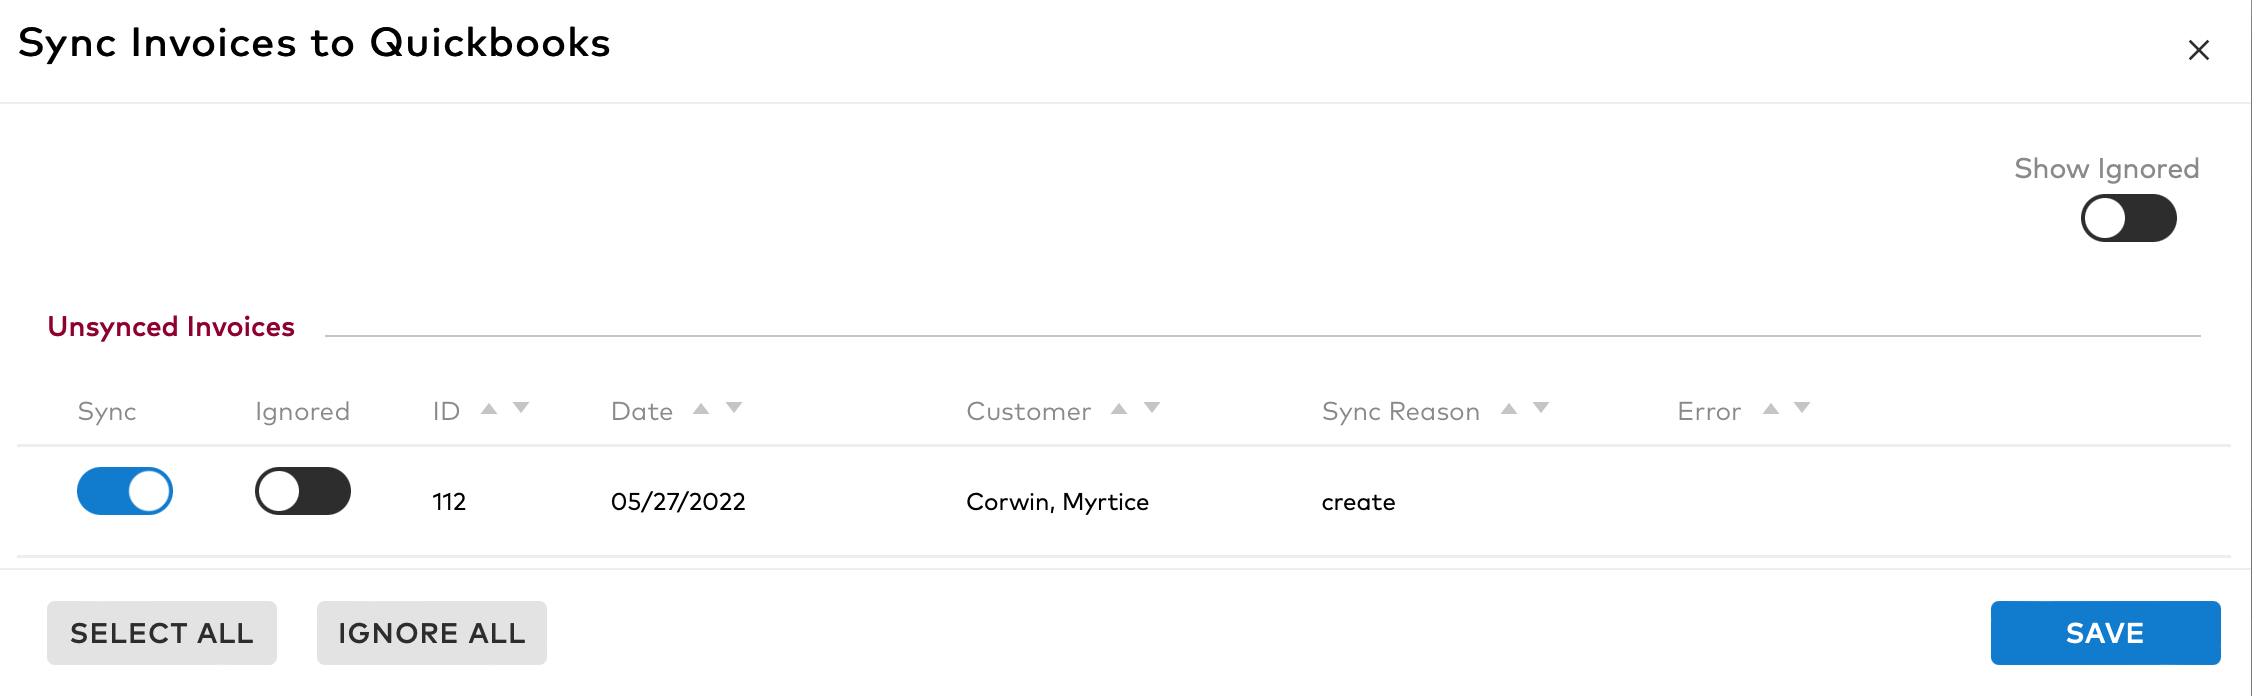
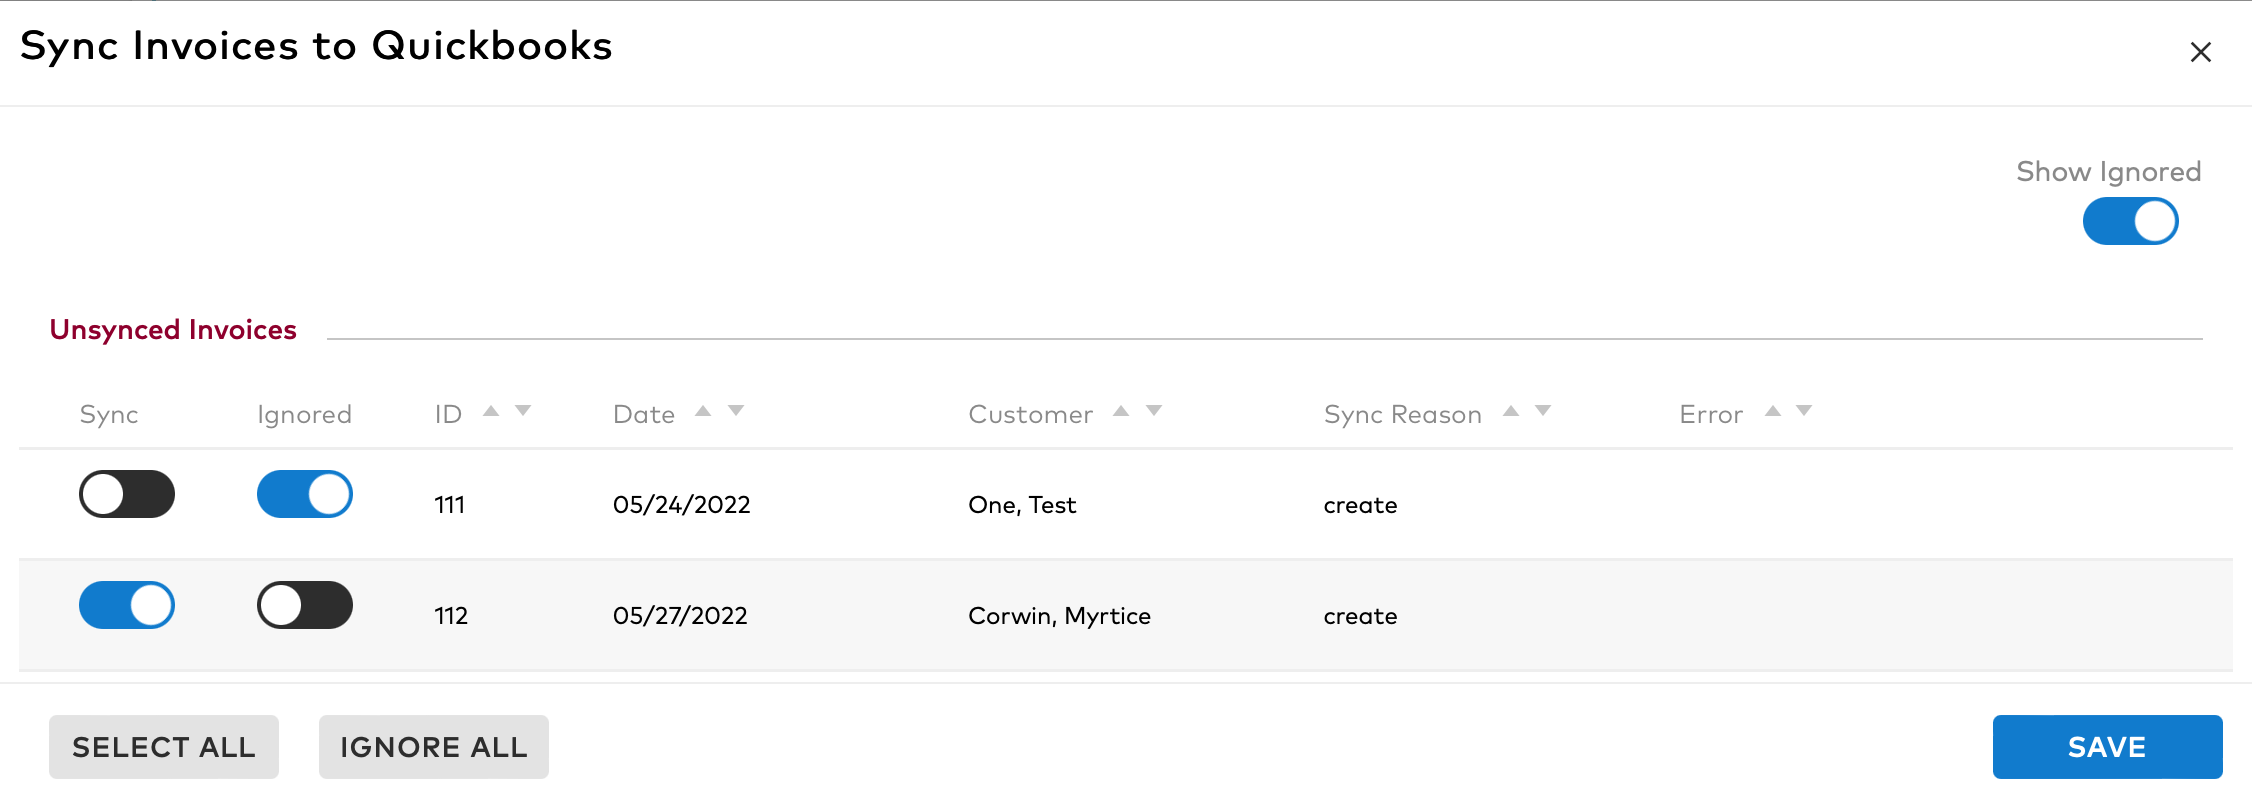
In some cases you may not want to sync an object. In those cases you can toggle the Ignored button to prevent the object from appearing in the list. Ignored objects can be shown by selecting the Show Ignored toggle button. Objects that were previously ignored can be shown by toggling the Show Ignored button.
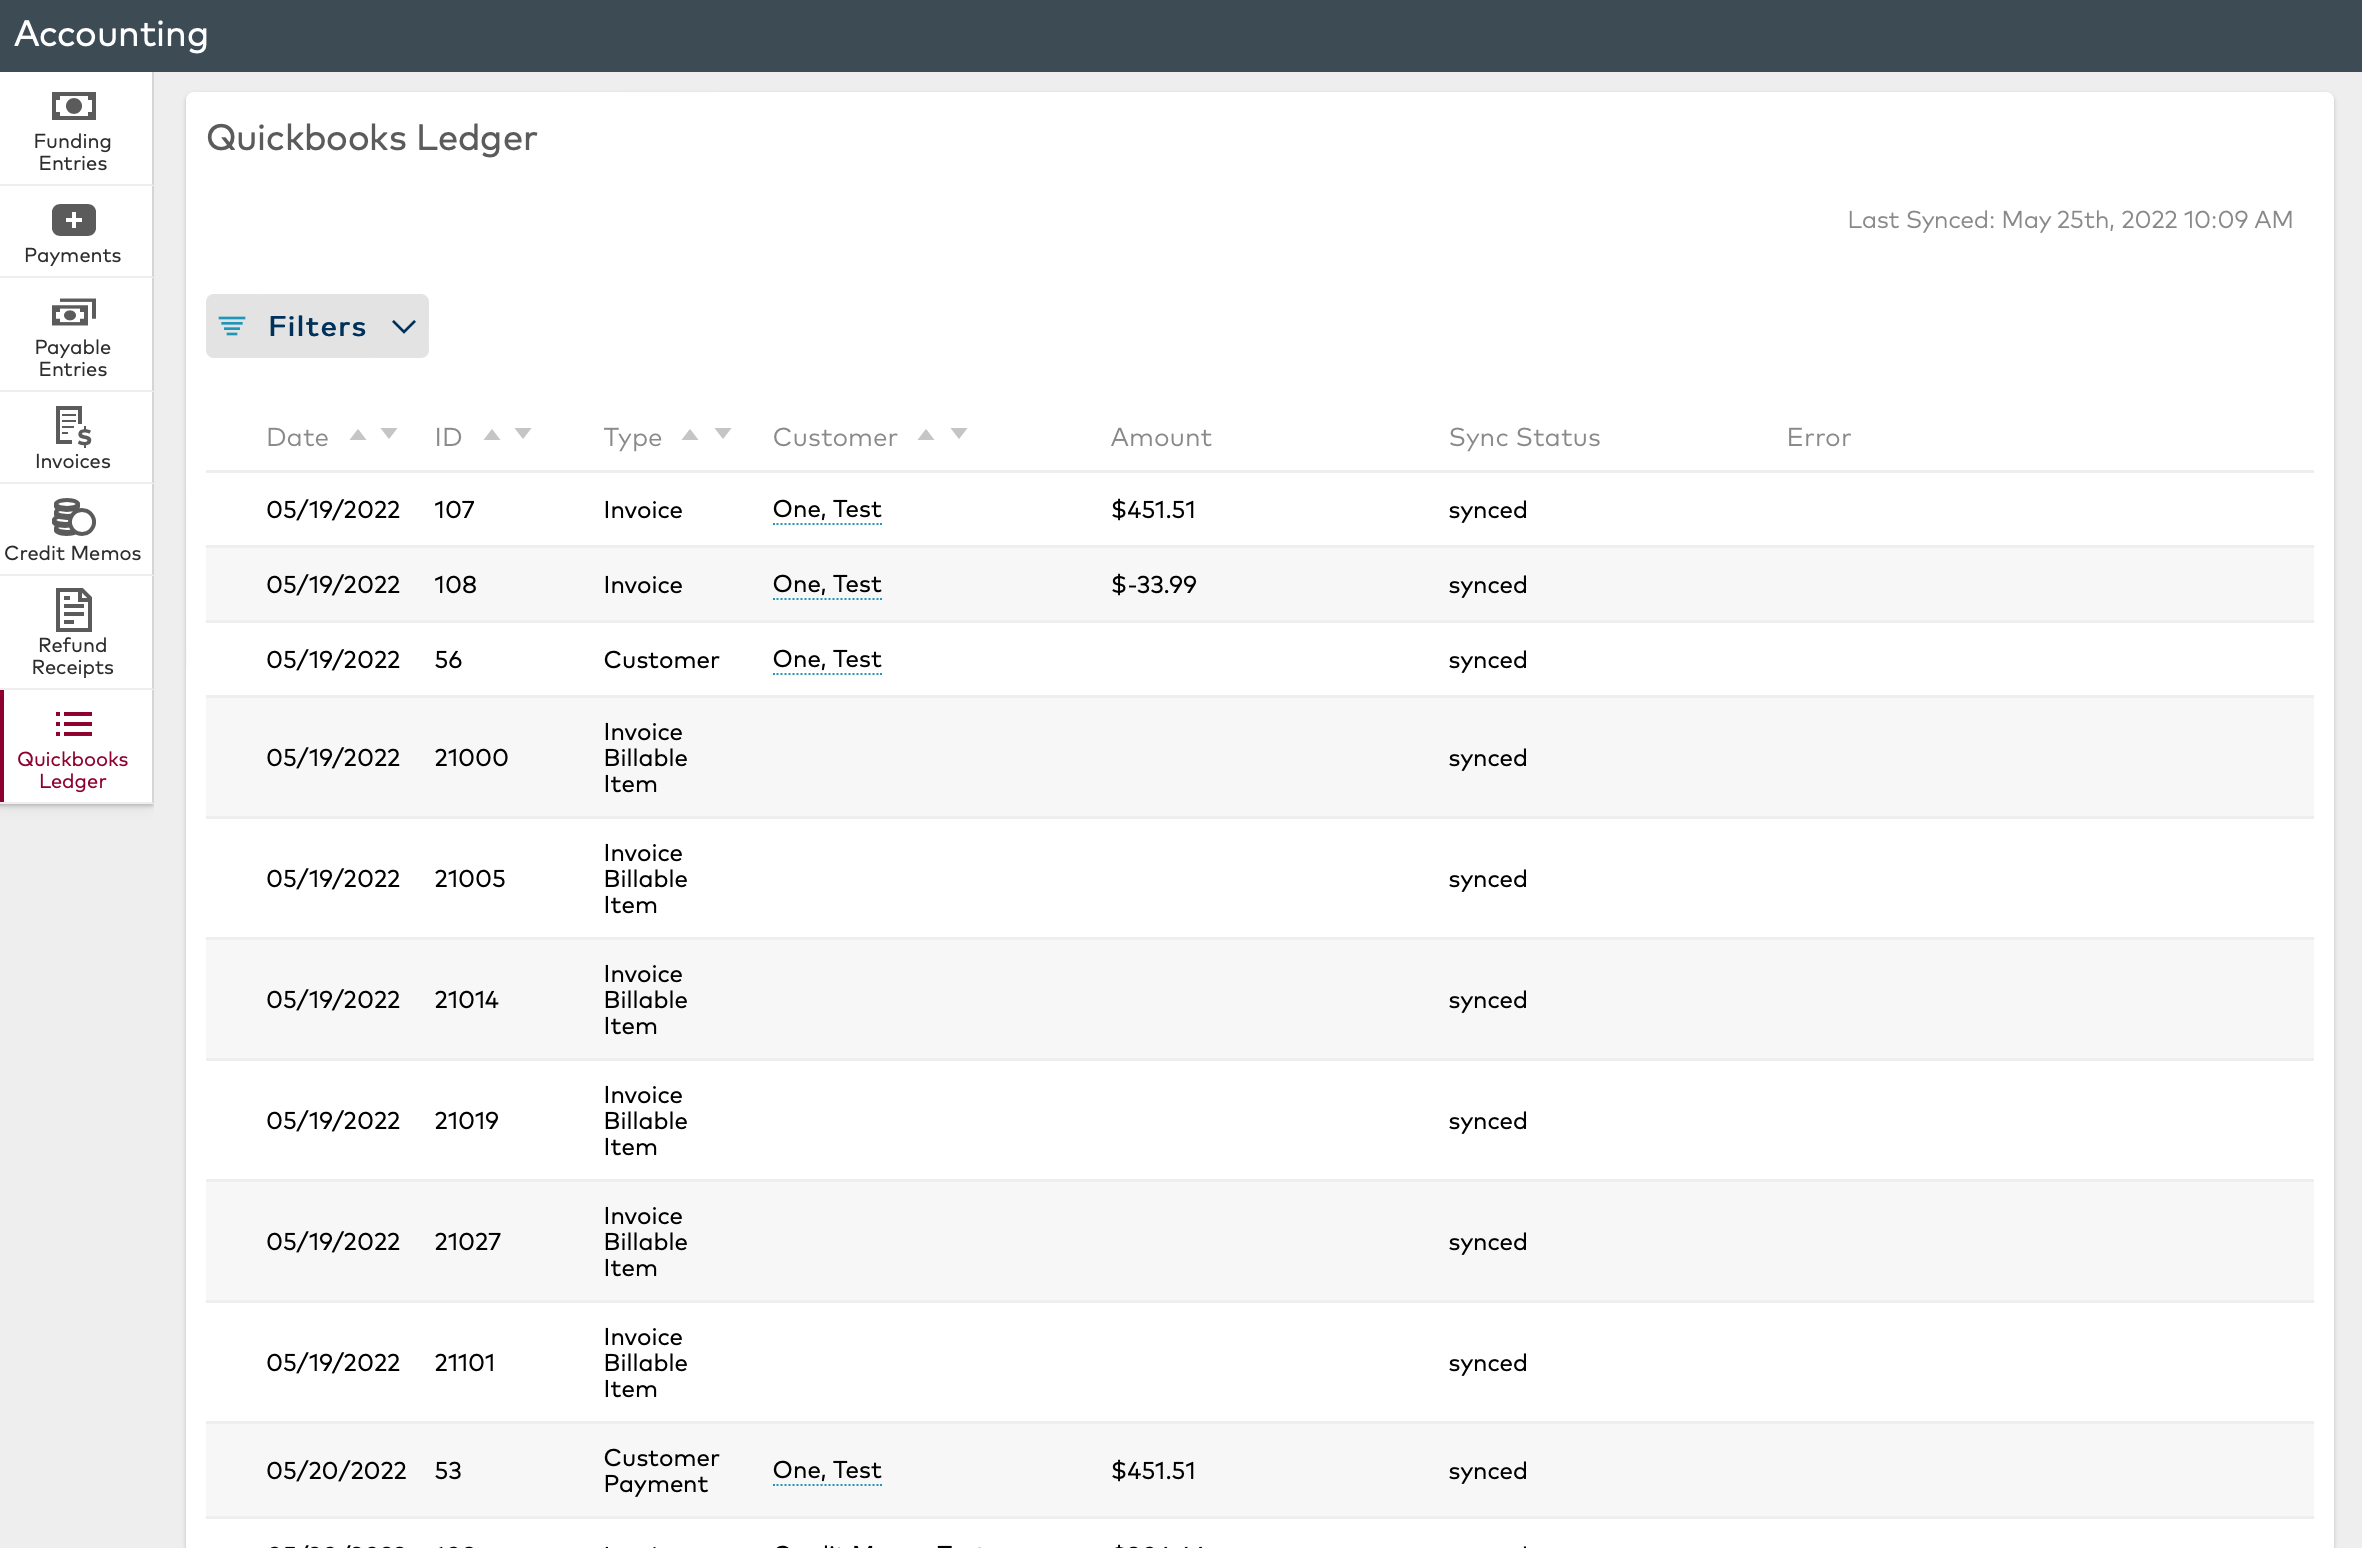
In Company > Accounting you will also find a new tab called QuickBooks Ledger. This page will list all of the objects that have been synced to QuickBooks Online as well as the date and time of the last successful sync.